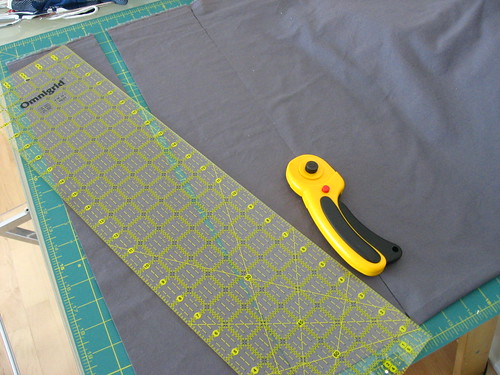
Ladies and Gentleman, start your rotary cutters! (and scissors). We are ready to start cutting! I'll be showing the
approach using the templates I designed, and
Kristie will be using the Go! Baby cutter, so hop over there if you have one of those fun machines :)
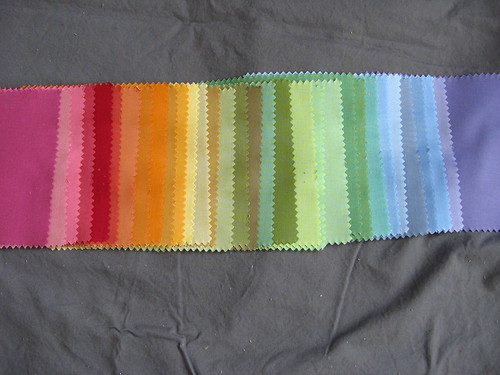
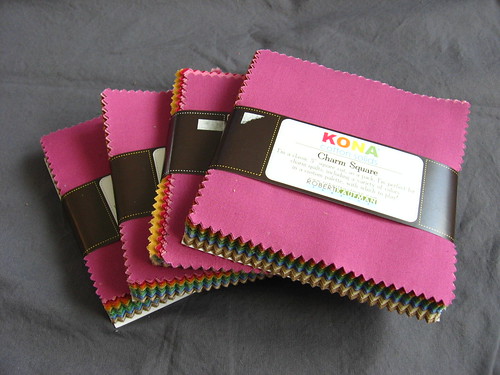
I decided to use several sets of Kona cotton charm packs in the Dusty selection with Kona coal as my contrasting "solid" for my quilt. I haven't decided the exact size that I am making yet, but I want it to be a decent sized throw/large lap quilt, so I started with 4 charm packs (since I am not using the tans/beiges/browns from them I am hoping this will be enough), and 2 yards of the coal (although I may need a bit more). The color scheme is inspired by several beautiful quilts that I have seen that pair rainbow solids with grey - this gorgeous
diamonds mini by Lindsay of Lindsay Sews, and this fun
pinwheel quilt from Spontaneous Threads. Both of these examples used the Bright kona charms but I was more drawn to the Dusty selection, especially since I am hoping we will use this in our living room and I want it to be a bit understated.
So, back to cutting your fabric! I actually probably already covered most of what you need to know in the
block-cutting tutorial, but I thought I would go through a few parts in more detail here. First,
hop back to that page to print the template if you haven't already yet.
Hopefully you have purchased fabric and figured out how many blocks you need to cut from each at this point for your design (although I am actually planning to play around with my blocks once I get them sewn up and see what design appeals to me most - so that approach is fine too!). If you are cutting any charms from yardage, as I mentioned in the
fabric requirements post, Elizabeth from
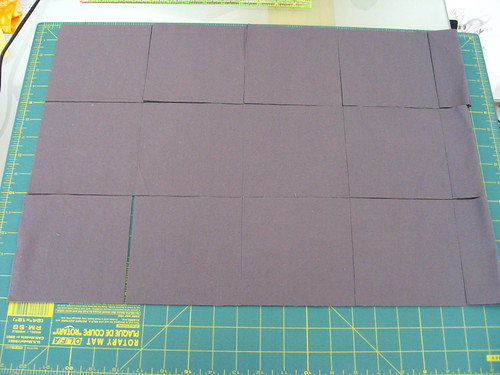
Oh! Fransson has a good tutorial for cutting charm squares. I would note, however, that for making blocks using my templates, while you don't want to be too sloppy, you don't need to stress out about being exceedingly precise in your charm cutting since you will be trimming the final quarter-circle blocks down to the exact size.
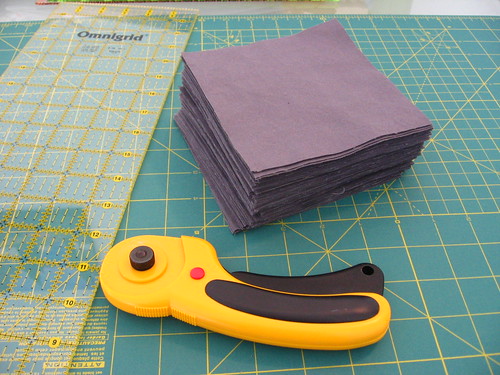
I found that it worked fine to stack the cut strips two on top of each other (so four layers of fabric deep), and three in a row, and then cut them in rows. I am sure this is not the best way to do it if you need them to be exactly precisely 5" square, but since a tiny bit different will be fine for our purposes, this was a great way to speed things up. If you can tell you are a bit off, just try to err on the side of larger rather than smaller I would say.
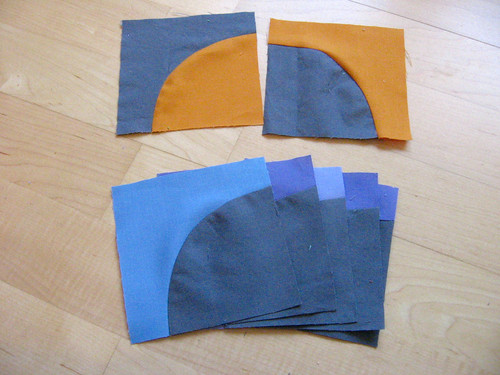
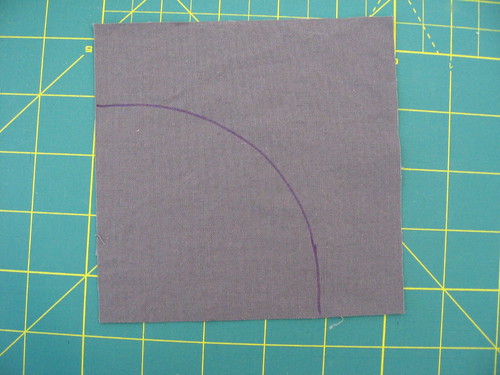
Once I had my stack of contrasting solid charms cut, I used a disappearing pen to mark the quarter-circle on the square, lining up the template with the corner. You can also rotary cut around the template or use scissors to cut around the template while holding it, this just seemed easiest to me.
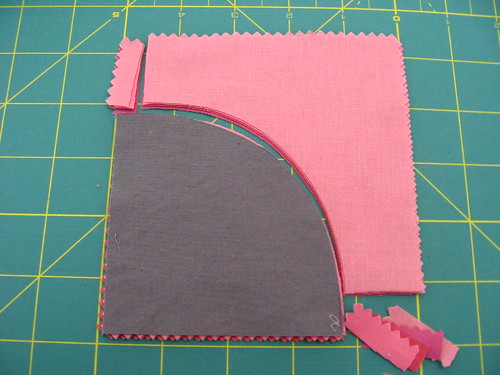
Then I like to use that first fabric piece that I cut out as a kind of fabric template when I cut the rest with scissors (again, feel free to use a rotary cutter or do this however is easiest for you - just wanted to share what worked well for me). I line that fabric template with the corner of the charms - and when I am using precut charms I try to line up the edge with the outer tips of the pinked edge, rather than the inner one - I think that is most accurate and avoids cutting too large a inner curve piece and thus leaving too small an outer curve piece.
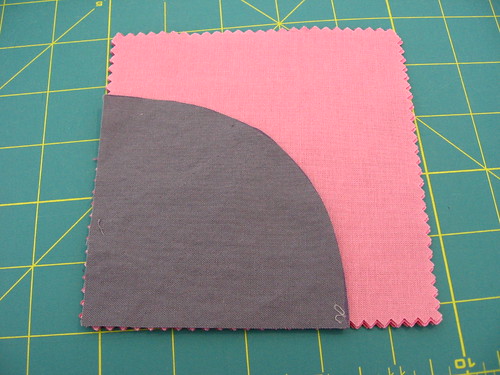
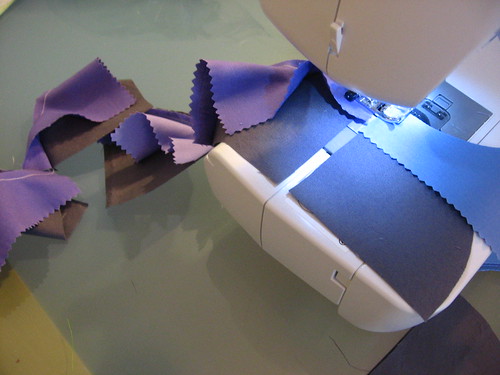
I just hold onto that piece of fabric and hold it in place as I cut around with scissors, being careful not to cut anything off the grey piece that I am using as a fabric template. Then I got ahead and use the scissors to trim the two ends (3/8"). I found that I could cut 4 pieces of fabric at once with my prewashed Kona coal, but only 3 pieces with the unwashed precuts, since they were more slippery and it was harder to keep them lined up properly while cutting.
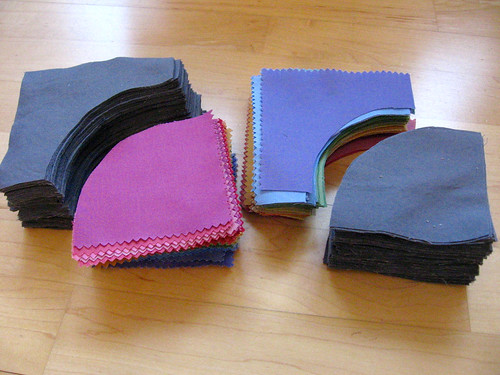
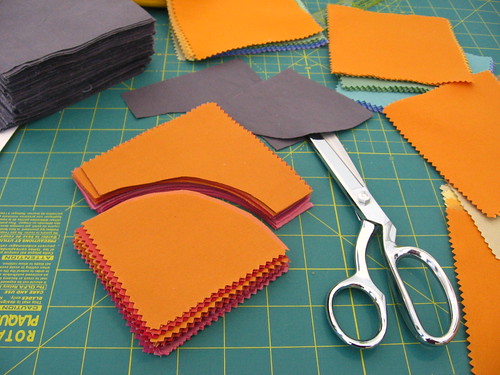
This may sound tedious but it actually goes really quickly! I had only cut a portion of my fabric when I took the picture below but I finished cutting the rest later and my total cutting time, including cutting out the kona coal charms and cutting all the inner/outer curve pieces, was about 2 hours (for a larger lap quilt).
I hope that helps, and happy cutting! I'd love to see your progress as you get going over in the
Flickr group.
{This post is part of the
Drunkard's Path Quilt-Along that I am hosting with
Kristie from OCD. Check out my
Drunkard's Path QAL page for the schedule and links to the posts so far, and feel free to join in any time!}