Sunday, July 31, 2011

July Bloggers' Dinner Party Wrapup


Thanks to everyone who joined in this month's Bloggers' Dinner Party!

I have a confession... I got so caught up in the packing and preparing for our move, that I ran out of time to make my own project this month.  I was really sad because I was actually thinking I would make a table runner, I was so inspired after putting together the round-up.  There were lots of fun entries for this month, though, so hopefully you guys will enjoy checking them out and not mind that I didn't get to my own project.

Here are a few of my favorites:
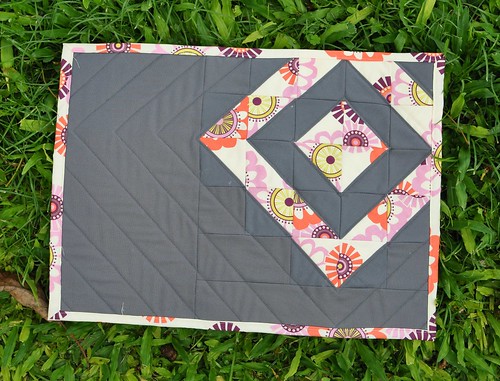
Photo from B. Yazoo

B. Yazoo linked up a super-cute set of placemats that she made using Sugar Pop and Kona Coal, and she made each one in a different design - I had a hard time picking which to feature, they were each so cool!

Photo from City House Studio

Michelle from City House Studio showed off some fun projects for her kitchen nook, including a beautiful lattice pillow to match her cushions, and these matching double-sided napkins.

Photo from One Eleven

Tori at One Eleven entered this cute potholder - I love the fabrics she used and the red bias tape sets them off perfectly.
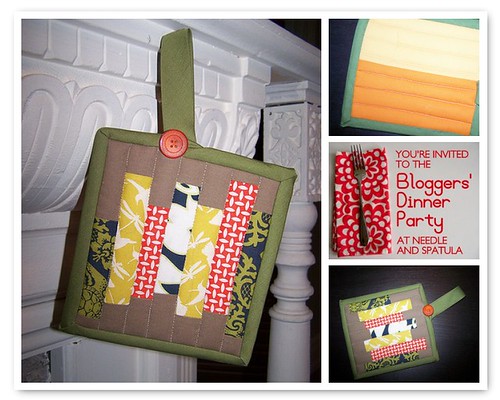
Photo from Lindsay Sews

Lindsay of Lindsay Sews made a fun potholder, too - I love the block design she used and the cute button on the handle!

And the winner of this month's prize (pattern and fabric from my stash):


... Is B. Yazoo!  I'm sending you an email now.

Lindsay Sews

Finally, a big thanks to Lindsay of Lindsay Sews for volunteering to host the party next month while I am in the midst of moving!  I am excited to have the party travel around (while I am traveling around too) and can't wait to see what you guys make.  Head over to Lindsay Sews to see the great prize Lindsay rounded up for you guys (including something special from Sew Sara).

And in the meantime, I will be back with a few more posts about my sewing projects before I disappear for the move.

Wednesday, July 20, 2011

Kaleidoscope Quilt Top Finished and WIP Weds

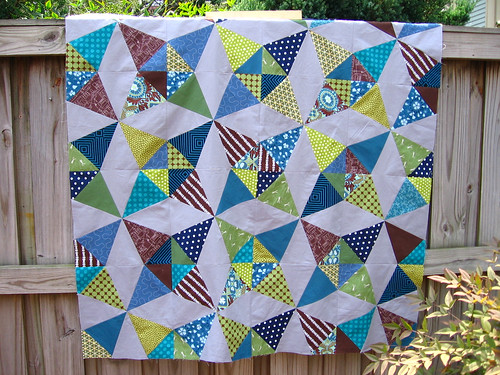
Kaleidoscope Quilt Top

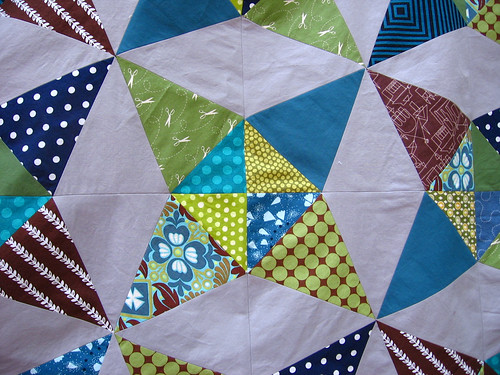
Possibly because I wanted to avoid packing for our move, I managed to focus my crafting energies a bit more this week and actually finished my Kaleidoscope quilt top for the Kaleidoscope quilt-along.  I really liked the design option that made a larger star and circle that I had played around with last week, but I decided that it wasn't really suited to a quilt this size, since there would only be a few full stars showing on the top.  So I decided to stick with the regular design for the quilt-along, and I alternated the blue fabrics with the green and brown fabrics for a kind of semi-organized scrappy look.  I love the other design though so I can definitely see myself making another (larger) quilt in that design in the future!

Kaleidoscope piecing issues

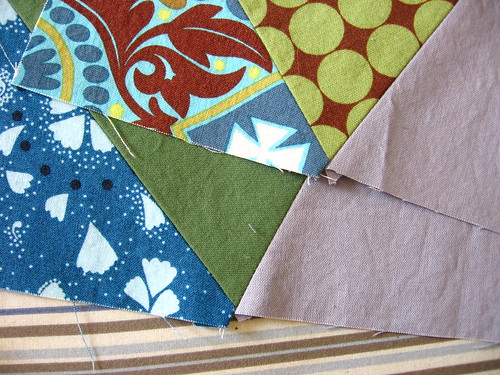
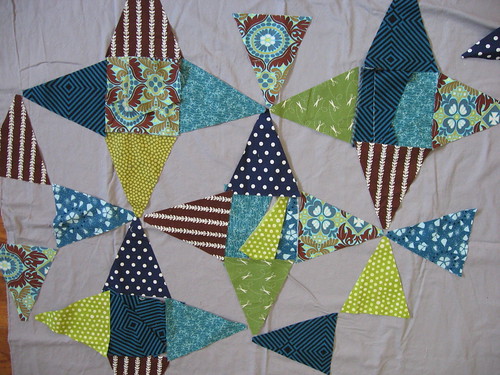
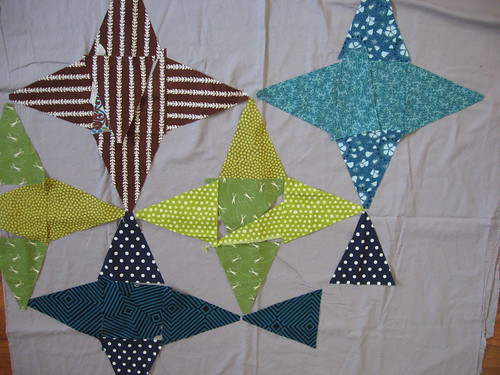
Some of the piecing with this quilt was a challenge for me.  I think I cut my pieces fairly accurately, although they may not have been perfect, but I think the larger issue was that I was using too scant a 1/4" seam allowance... I used to have too large a seam allowance and I may have overcompensated (I do have a 1/4" foot, but not one with a rigid guide, and I think I was lining up my fabric with the wrong point on the edge of the foot).  Anyways, the result was that on some of my pieces, the grey kaleidoscope triangle was significantly shorter than the patterned piece, and I was worried that the tip of my patterned kaleidoscope triangle would get cut off when I pieced the blocks together.  The problem was most acute on about 10 pieces so I took them apart and pieced them again, being careful to line things up to avoid this problem.

Kaleidoscope start

Even after that fix, my piecing was definitely still not perfectly aligned, so I was pretty worried that I would have a hard time lining up the points either in the center of my blocks or at the intersections of the blocks.  Luckily, I was able to get them all to turn out pretty well by pinning really carefully and easing some of the seams, and then pressing everything into submission.  I think the piecing on the finished top looks really nice overall, but it also does not lie 100% flat, so hopefully I won't get any puckers when quilting if I baste really carefully.

I definitely think this is a great pattern, any issues that I had were as a result as my less-than-perfect piecing and/or cutting... and part of why I wanted to do with QAL was to challenge myself to improve my piecing accuracy, which it definitely did.  I had never really chain pieced before and found it to be a great time saver, but I think that in the future I probably should do a test block before I go to town chain piecing, to identify any issues up front so that I can correct for them from the beginning. 

I am not sure if I will have time to quilt either this or my drunkard's path quilt before we move, although if I have time in between the packing (and a few other craft projects I have planned), it would be great to get one done.  I am still planning to host a drunkard's path quilt-along this fall, probably starting in October, but I realized I may need to hold off getting more organized on that until after the move.

I'm linking up again to WIP Wednesday over at Freshly Pieced - head over to see everyone's fun projects!

WIP Wednesday at Freshly Pieced

Monday, July 18, 2011

Table Runner Roundup

Thanks to everyone who has been joining in the Bloggers' Dinner Party!  It has been fun seeing your creations.  The party is open until the 28th so you have 10 more days to join in this month's party - and you'll have a chance to win a pattern and some fun fabric from my stash!  You can link up over at the Bloggers' Dinner Party page.

Bloggers' Dinner Party

In case you are looking for inspiration, I wanted to share a roundup of fun table runner techniques and ideas.  I have actually never made a table runner, since our current dining table is too narrow to fit a runner and leave any room to actually eat.  Looking at all these great tutorials made me really want to make one, though!  I'm thinking maybe I should just go ahead and make one, I can always use it on a coffee table or a side board in the future if we continue to have too small a table after we move.

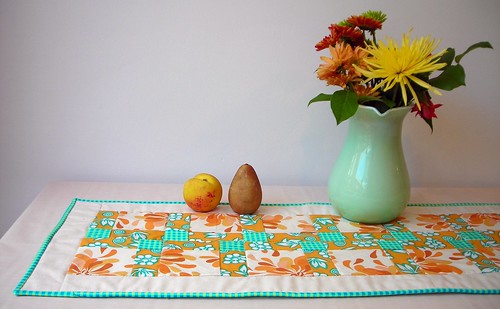
Photo from The Long Thread

The simplest way to make a table runner is to sew two rectangles together with right sides facing, leaving a gap for turning the runner right side out, and then either hand stitch the opening closed or top stitch all the way around, closing the opening in the process.  The beautiful simple runner above from The Long Thread is an example of this technique, showing how with even minimal piecing you can get a very pleasing result.

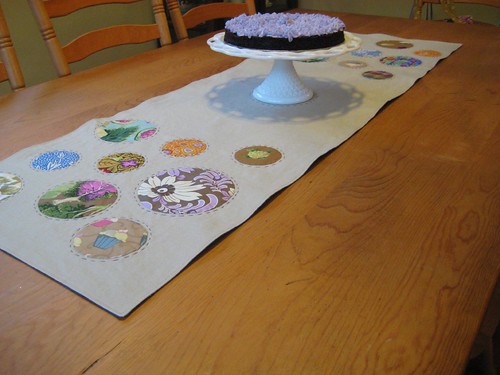
Photo from Poppyprint

You can also use this technique with a more complicated top, such as the lovely crop circles pattern from Poppyprint above, or the beautiful log cabin runner that Amanda Soule made.   With this technique you can use batting in the middle and quilt as much as desired, or you can just use the two pieces of fabric.

Photo from A Sewing Journal

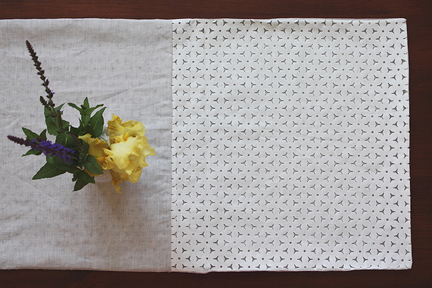
Another simple technique for a non-quilted runner is to simply use a single rectangle of fabric and turn the edges under and finish them, similar to how you would when making a napkin.  You can of course embellish the fabric with applique, contrasting fabric bands, stenciling/stamping or other decorations, just as you can with napkins.  The linen and lace runner above from A Sewing Journal is a sweet example using this technique.

Photo from Prudent Baby

You can also make a quilted table runner with binding, which is essentially a mini-quilt.  If you use extra layers of batting or insulated batting, this has the added benefit of protecting your table from hot dishes.  At the most simple, you can pick two favorite fabrics, quilt them together and sew on a binding, as in this tutorial from Prudent Baby shown above.

Photo from Diary of a Quilter

You can also make a striped table runner using this technique pretty easily, such as the quilt as you go table runner from Diary of a Quilter shown above.  Similarly, the Polka Dot Chair has a tutorial for a skinny table runner made from squares.

Photo from Spool Sewing

You can also use this technique to make a runner with many kinds of more complicated quilt designs, such as the disappearing nine patch design from Spool Sewing shown above.  Other tutorials to check out include:

Photo from Martha Stewart Crafts

And your table runner doesn't have to be a rectangle!  I love this pattern for a leafy runner made of bias-tape edged leaf shapes from Martha Stewart Crafts.  Or there's a cute pattern on Moda Bake shop for a runner made of layered circles.

What is your favorite table runner pattern or technique?

Wednesday, July 13, 2011

WIP Weds - Drunkard's Path Quilt Top finished and Kaleidoscope QAL started

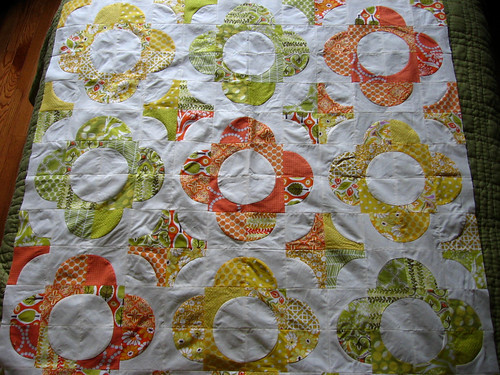
drunkard's path quilt top

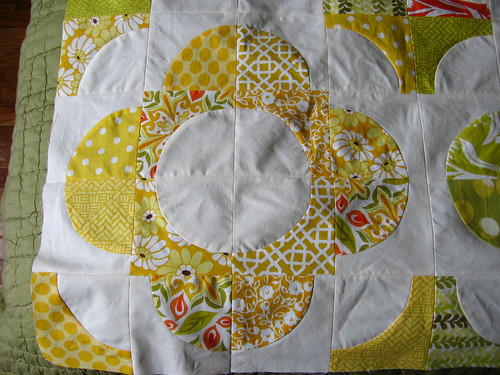
I finished my drunkard's path quilt top last night - I am really happy with how it turned out!  I had posted a photo on the needle and spatula facebook page showing a possible layout of the blocks with the yellows on the diagonal and got good advice from several folks to put the oranges down the diagonal since it is a more dominant color - which was kind of what I was thinking too after I saw it laid out.  I'd love advice on how to quilt it - I am thinking I may just do diagonal lines through the sub-blocks because while I think echo quilting would look lovely I don't think I'm up for it on my tiny machine.

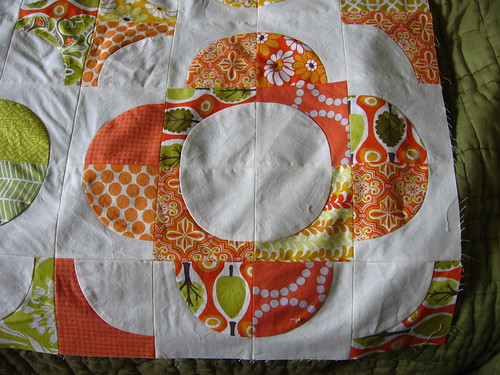
orange drunkard's path block

Here are more closeup shots of the orange and yellow blocks - I used mostly central park fabrics (including parts of a charm pack leftover from my last central park quilt), but added in other coordinating fabrics from my stash as well.  I love the color scheme for this quilt but I also think it would have looked great with a wider range of the colors from this line.  Since I have used stash fabrics in each of these central park quilts as well, I think I have enough fabric left for another central park quilt, probably using the whole range of colors - which is great since I love this fabric line!

yellow drunkard's path block

I have mentioned to a few folks that I was thinking about doing a drunkard's path quilt-along once I finished up this quilt.  I am pretty sure that I am going to go ahead and do it, so stay tuned for more details!  Since we are moving across the country next month, the QAL probably won't really start until mid-September or even October, but I am hoping to write a few posts for August/early September with more inspiration/layout ideas.  I am super excited about it, I hope you will consider joining in!

kaleidoscope fabrics

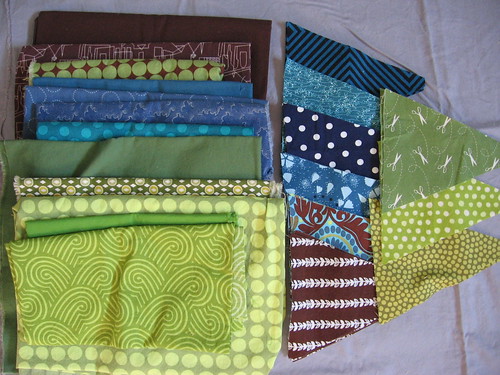
With the central park quilt top finished, I have finally moved on to start my kaleidoscope quilt for Elizabeth's quilt-along!  I am mostly using the same fabrics as my original stack but with a few additions, and I did decide on the lighter grey color for my solid, thanks to everyone who chimed in with an opinion on that.  I am planning to make the baby size quilt and have already cut out 34 of the 48 needed triangle pieces and have used less than half of the fabrics, so I'm not sure if they all will make it in...  but I may make it a slightly larger 4 blocks x 4 blocks (rather than 3 x 4), so then I would be able to fit in more fabrics.

kaleidoscope option 1

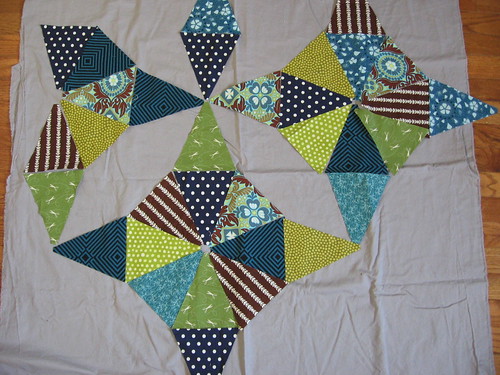
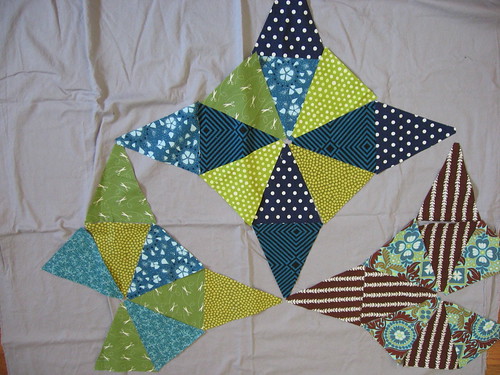
I have been playing around with layouts a bit before I finish cutting my pieces (so I can make sure I cut the right number of each size/color for whatever design I choose), and I was really drawn to this larger design variation that some folks had done.  I was thinking about a scrappy option (above) or a more color coordinated option (below) - and I played around with a few other options too, which you can see in my flickr stream.

kaleidoscope option 3

I realized that this design wouldn't work very well in a baby-sized quilt, though - there just isn't enough room for the large scale repeats, so you basically only get the larger circle pattern showing once (or maybe a few times in the 4 x 4 sized quilt).  So, I think I am going to stick with the regular layout in the end.

kaleidoscope option 6

I'm not sure yet if I will got with a scrappy layout (above), a color coordinated layout (below) or something else... but at least now I know to go ahead and cut out the half square triangle pieces (and apologies for the centers being filled with scraps in these photos, since I hadn't cut out any of those pieces yet).

kaleidoscope option 7


I'm linking up again to WIP Wednesday over at Freshly Pieced - head over to see everyone's fun projects!

WIP Wednesday at Freshly Pieced
Related Posts Plugin for WordPress, Blogger...