Thursday, November 06, 2014
Uptown Girl Coat Pattern Review
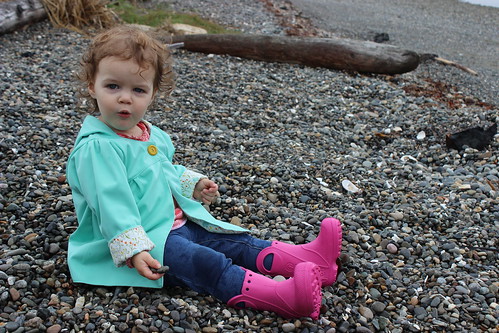
Lately I have been making nearly all of Esther's clothes (except a few things, like jeans) - it's actually become a bit of a problem that I can't get myself to stop making her clothes and work on any of my other sewing projects! In any case, I thought it would be fun to sew her a raincoat. I bought the uptown girl coat pattern from Make it Perfect and sewed up the coat using aqua PUL (waterproof fabric often used in cloth diaper covers), lined in quilting cotton (one of the newly re-released far far away prints from Heather Ross), and using a vintage button from my stash. This was my first coat-sewing experience and I think it turned out pretty cute!
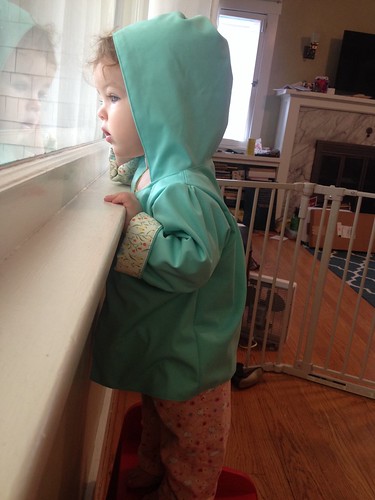
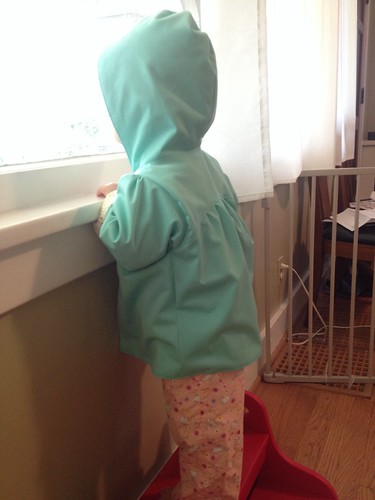
The pattern was well written and the construction of the jacket was well-thought out - I liked how they had you turn it through a sleeve (although it might not work well if you used a more stiff and bulky outer fabric). I read some other reviews online and made a size 1 for width and a size 2 for length, since Esther is on the long and lean side and I didn't want it to be too bulky, plus the fit is loose anyways. My one gripe with the pattern is that the hood is really not deep enough and as a result it doesn't stay up on her head well - not great when we are out playing in the rain.
I wasn't sure how the PUL would work with this pattern, especially with the gathers, but it worked pretty well, and the finished coat is soft and comfortable. As cute as the lining is, in retrospect I wish that I had lined it with a lightweight fleece instead, since the cotton at the cuffs gets wet and dirty really easily. Esther loves the coat though, and whenever she sees it she wants to put it on and then go outside and play!
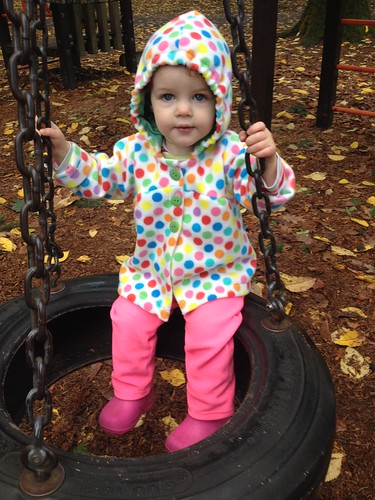
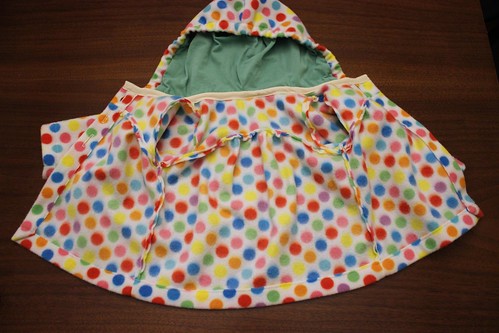
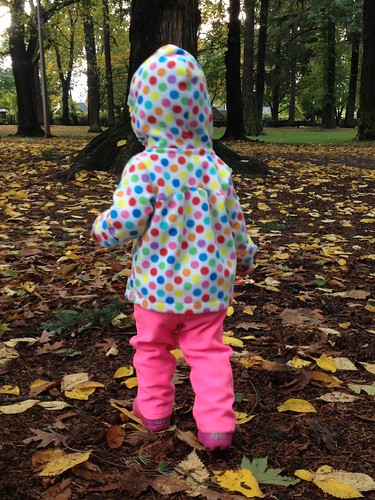
I wanted to give this pattern another try with a deeper hood, and Esther was needing a lightweight fleece jacket (for the occasional non-rainy day that we get), so I bought this cute polka dot fleece fabric from fabric.com. I love how this coat turned out and she has already gotten a lot of use out of it!
I decided to make the jacket unlined but to line the hood with a lightweight green jersey (from an upcycled t-shirt). To convert the pattern to be unlined I added extra width at the jacket fronts to fold over and create a placket, and extra length at the bottom and the sleeves to make hems. To make the hood deeper I added something like 2.5" to the outer hood edge and 1/2" to the lining hood edge, so that the overall hood would be 1.5" deeper, with the fleece wrapping around to the inside. I also sewed the edge of the hood into a casing and put in an elastic to make sure the hood would stay up well. Finally, I finished the neck edge of the jacket with a strip of off-white jersey. I left the rest of the inside seams unfinished, since they aren't visible and the fleece doesn't fray.
I also altered the sleeve pattern to make the sleeves a bit less full and take out the gathers at the top of the sleeves, just as my personal preference. For the closure I used three large green buttons from my button stash instead of the one button the pattern calls for and I think it looks really cute!
The hood fits great with the extra depth and really stays up, I like the effect of adding the elastic. The gathers in the pattern are really cute in the fleece and it was quick to sew up since I had already made it once and I skipped the lining this time.
After making these two coats I decided to try another coat pattern and make Esther another rain coat with laminated cotton so I'll be back to share that soon! In the meantime, wish me luck peeling myself away from sewing yet more toddler clothes to actually work on other projects - like maybe some clothes for me for once? Not to mention that it is now NOVEMBER and I should really get cracking on some holiday sewing!
Saturday, November 01, 2014
Halloween Monkey Costume
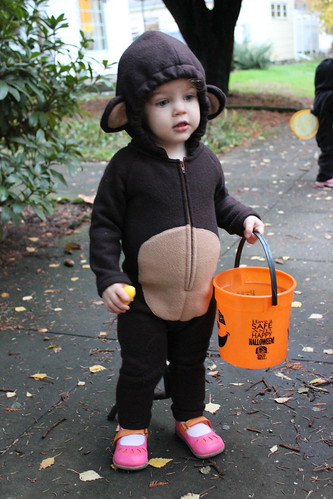
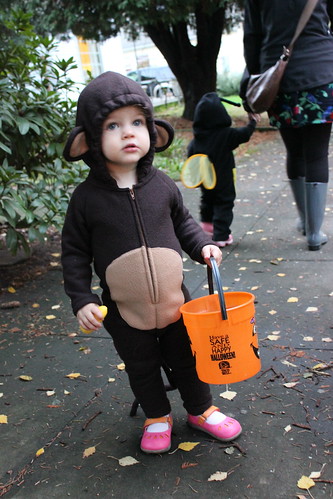
This year was Esther's first time trick or treating so I was really excited to sew her costume. We decided she should be a monkey since the "ee ee" monkey noise is one of the animal noises she likes to make, but it is also very appropriate since she is a big climber and explorer, always keeping us on our toes.
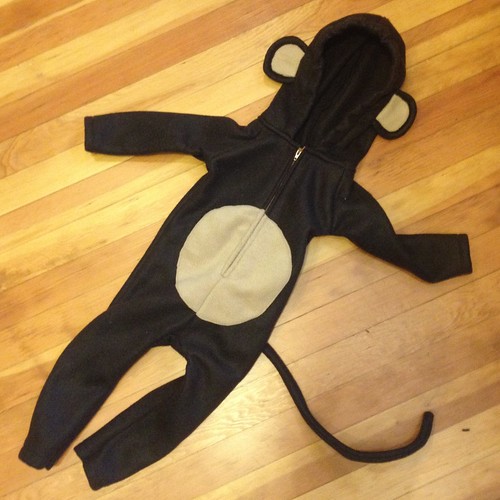
I traced some pajamas to draft a pattern and then added a hood, ears and a tail. I probably could have added a bit more ease, it was a little snug but the fleece had enough stretch that it worked out. I put pipecleaners in the tail so it could be bent into shape. I possibly should have put the tummy patch a bit higher (and made the ears a bit smaller) but all in all I am really happy with how it turned out!
I came up with a pretty easy way to make the ears so I took some photos as I was working to show you how:
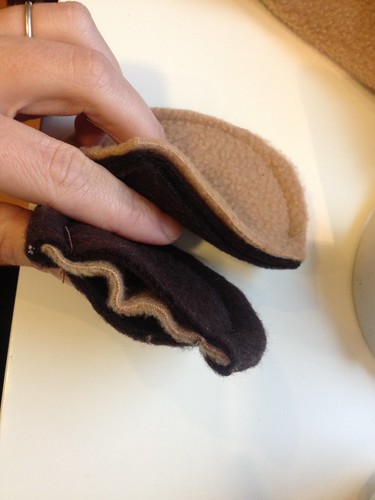
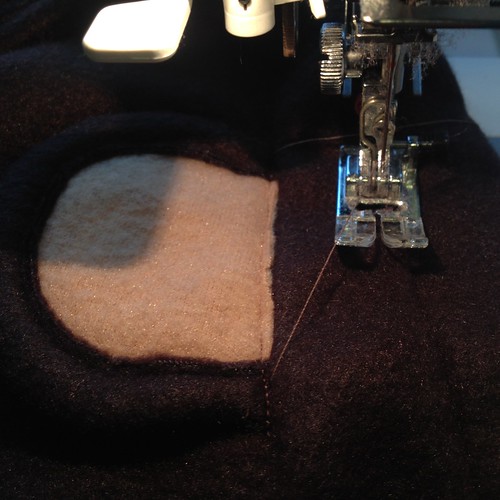
I layered two pieces of brown felt with one piece of beige felt on top, and sewed an ear shape with one side open, then trimmed it close to the seam. Then I turned it inside out so that the beige felt was sandwiched between the two pieces of brown felt, and sewed around about 3/8" from the seam to create the ear lobe.
Then I trimmed out the inner part of the brown fleece on one side of each ear, close to the seam.
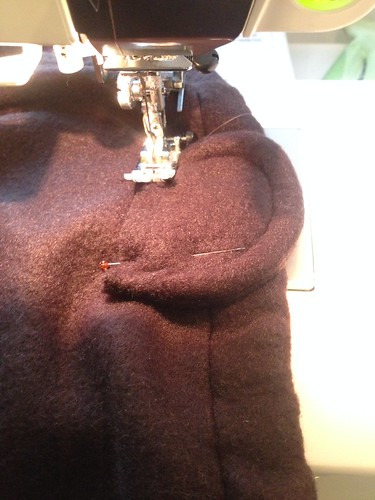
To attach the ears to the hood, after deciding where to place them, I first sewed them down face down (facing forward).
Then I flipped the ears back and sewed a seam just barely catching the front edge of the ear, which made them stick out nicely.
Happy halloween from my monkey to you!
Subscribe to:
Posts (Atom)

