I have been wearing my
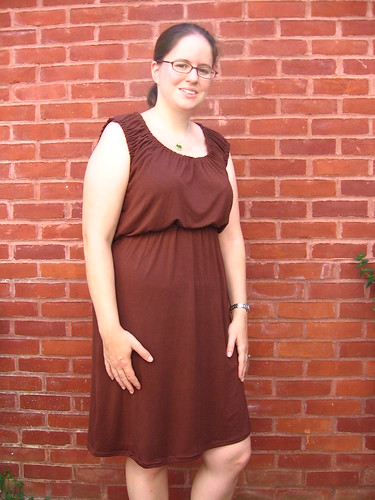
blue knit peasant dress at least once a week since I made it, so I knew I wanted to make another one, and I thought it would be fun to write up a tutorial to share with you, too. This dress is really easy and fast to make - this one only took me a few hours to sew up. I know a lot of people are intimidated about sewing with knits, but it really isn't that hard, and this would be a great first project - the gathers at the neckline and armholes can hide any stitching issues you may be having.
I like the fact that you can change the style of this dress so much based on where you put the waist. The
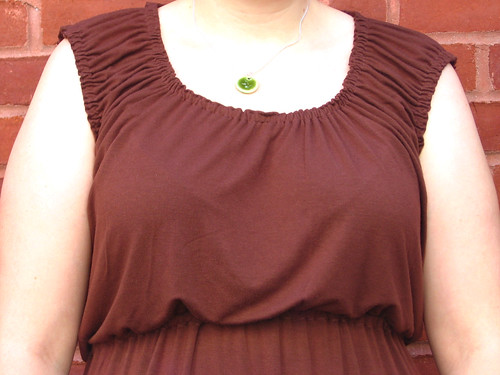
first one (which was less loosely cut) I made with an empire waist, which is generally a good option for my body type, and I loved how it turned out. I didn't want to have two nearly identical dresses though, so for this one I put the waist closer to my natural waist. You can either wear it bloused up as shown below, or really at the waist as shown below (apologies for the crappy bathroom photo - I forgot that I wanted to take a picture of the alternate way to wear it when my ever-helpful husband was taking photos before going to work). I think this would look great with a lower waist, too, or even with no waist - it would make a great loose beach coverup, or you could wear it with a belt. Since the original inspiration for this dress was a tank top, you could also make it shorter for a tank (or a tunic)... or you could make it longer for a maxi dress. So many fun options!
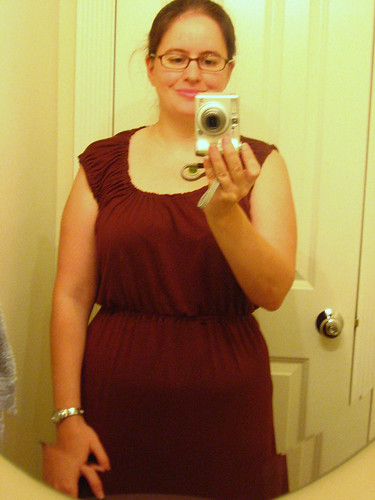
This dress is perfect for the hot summer in DC - comfortable, lightweight and cute. I hope you like it as much as I do! If you make a dress (or a tank top) with this tutorial, I'd love to see how it turned out - you can share a photo in the Needle and Spatula Flickr group.
TERMS OF USE: For personal, non-commercial use only. If you are interested in making this dress for small-scale commercial sales (eg craft fairs, etsy), please contact me to discuss a licensing agreement.
DONATE TO SUPPORT THIS TUTORIAL - this tutorial is provided free of
charge, if you would like to show your appreciation and support the free
patterns I provide here, you can donate here
(or it helps if you click through to any of the amazon links below or elsewhere on this site,
whether you purchase that particular product or not!). Thanks for your
support!
What you will need:
- Approximately 1.5 yards of light to mid-weight stretch jersey knit fabric (mine was a stretch rayon from Joann's)
- 1/4" elastic
- Thread in coordinating color
- Size 12 ballpoint needle (or universal needle if you don't have ballpoint), and double needle for sewing hem (optional)
- Semi-fitted t shirt to use as template (or an actual t-shirt pattern)
The fabric amounts above are for a knee-length skirt, so adjust accordingly if you are planning to make a tank, tunic, or maxi dress instead. Also, this will be enough fabric to make a dress up to about size 12 or maybe a 14 - for larger sizes, you will need to double the yardage.
Here are the step by step instructions:
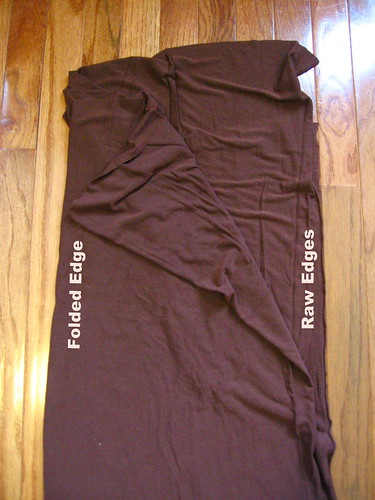
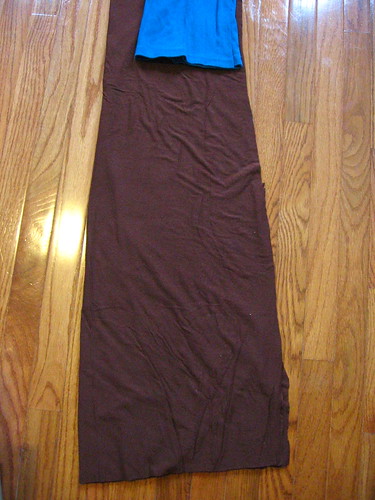
Start by folding your fabric in half (so that selvages are stacked on top of eachother), and then fold it in half again. Try your best to get the fabric to lay flat and to get out any big wrinkles, but don't worry if it's not perfect. I found that it helped to hold the fabric up when making the first fold, you may have to shift the alignment of the selvages to get it to hang straight, then lay it down on a surface and make the second fold.
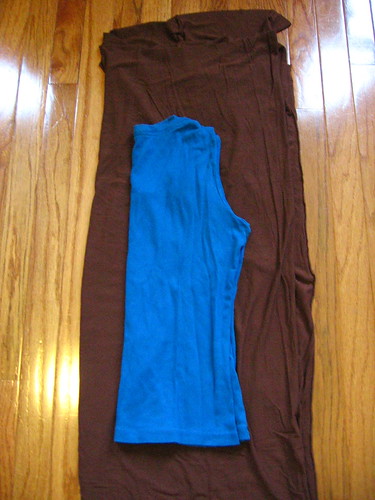
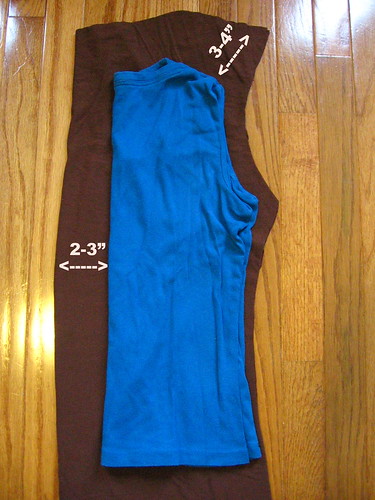
Take your t-shirt and fold the sleeves inside the t-shirt and then fold it in half as shown above. Place the t-shirt on the fabric with the folded edges on the same side. The folded edge of the t-shirt should be 2-3 inches in from the folded edge of the fabric and the top of the t-shirt 4-5 inches below the top edges of the fabric.
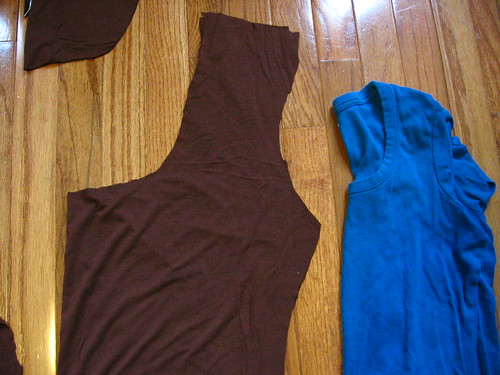
To cut out your bodice shape, you want to imagine that the t-shirt is stretched about 1 and a half from the armpit up. You want to basically echo the top shape of the t-shirt (back neckline and shoulder) but move the line up about 3-4 inches. I just cut this freehand but you can mark it on the fabric first, or cut a paper pattern, if that would make you more comfortable. For the armhole, you want to connect the top of the shoulder that you cut with the bottom of the original armhole, adding about an inch of seam allowance. From there, you can just follow the line of the t-shirt (or add more ease for an even looser fit).
From the bottom of the t-shirt, you want to cut a gradually sloping line out to the selvage edge. (note: my skirt originally had a lot of excess fabric, yours may not be this long).
You should now have two dress pieces cut out - remove one and set it aside, then refold the other so that the armholes and side edges align. Starting at the top of the shoulder edges, cut a scoopneck out of the fabric - again about one and a half times as deep as you want it to ultimately be. Mine is a bit deep, you probably want the bottom of your scoopneck to line up an inch or two above the bottom of the armhole.
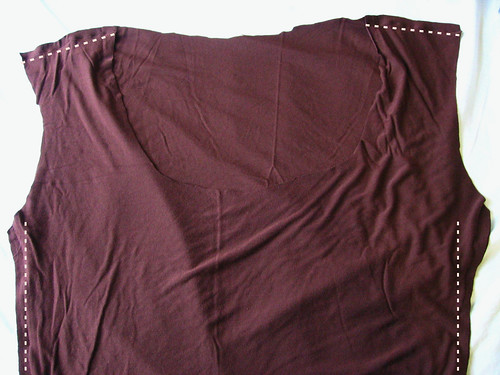
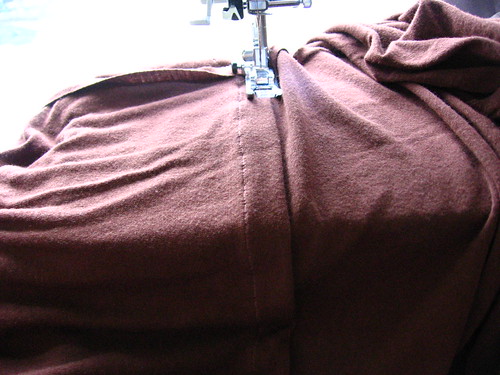
Unfold both of your fabric pieces and place them together with right sides facing and shoulders and side edges aligned. Using a stretch stitch (I like to use the zigzag that looks like a lightning bolt), sew the top edges of the shoulders and the sides all the way down to the bottom of the dress. I used about a 1/2" seam allowance and then trimmed it to 1/4" after sewing - since knits don't fray, you don't need to finish the seam. If you have a serger by all means use it for these seams!
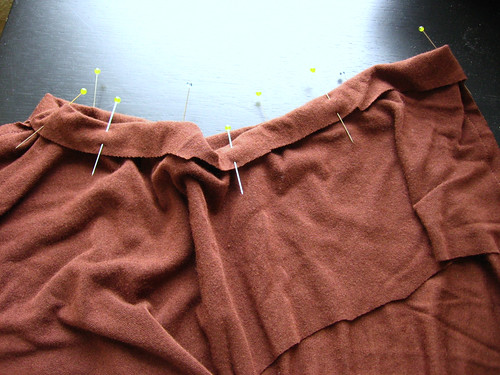
At the armhole, fold the seam allowance in about 3/4" toward the wrong side and pin in place.
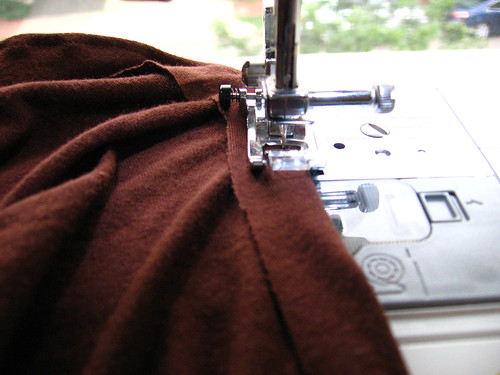
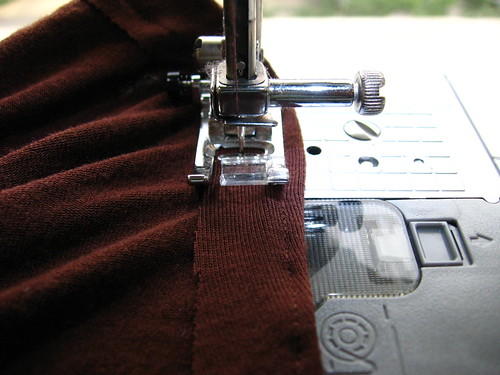
Using a regular, straight stitch, sew 1/8" in from the edge all the way around the armhole, starting and ending at the bottom/armpit (since the armholes and neck are gathered and will never be stretched all the way out, you don't need to worry about using a stretch stitch).
Starting in the bottom of the armhole again, sew another seam 1/4" inside the first, ending 1" before you get back to the place you started to leave a gap to insert the elastic.
This is what the armhole should look like at this point. Repeat for the second armhole and then for the neckline (starting at the center of the back for the neckline).
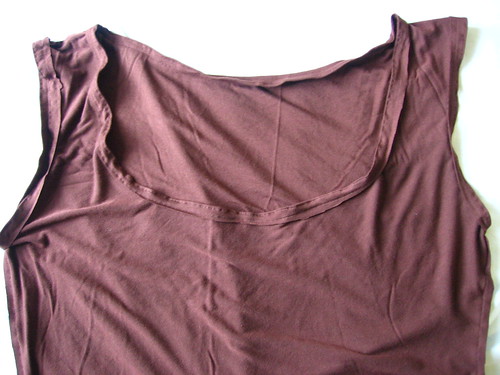
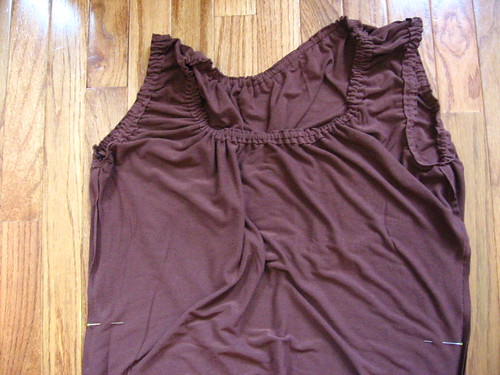
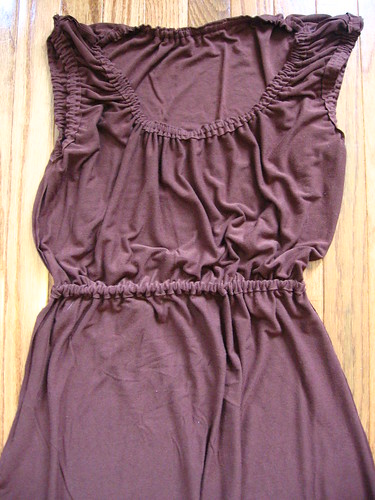
This is what your bodice should look like now.
Cut a piece of elastic for your armhole. You can estimate the size you will need by wrapping the elasic around your arm/over your shoulder - I ended up needing a piece about 17" long (although I started with it longer). Thread the elastic through the channel you created around the armhole using a safety pin, then pin it to itself. Repeat for the other armhole and for the neckline (I used about 30" of elastic for the neckline to start). Try the dress on and adjust the pinning of the elastic until you are happy with how it looks (and the sleeves are even).
Pulling the elastic out far enough that you can maneuver it, sew the two ends together where you had pinned them, then trim off the excess elastic. Tug the gathers to draw the elastic back into the channel, and then sew the opening shut. Repeat for the other armhole and the neckline.
Try the dress on and decide where you want your waist to be placed. Mark the spot with a safety pin in the seam, then take the dress off and, with the dress inside out, replace the safety pin with a straight pin and mark the same location on the opposite side (check that it is the same distance from the bottom of the armhole).
Tuck the bodice inside the main body of the dress such that the fold aligns with the pins you had marked for the waist. Pin around the waist to hold in place.
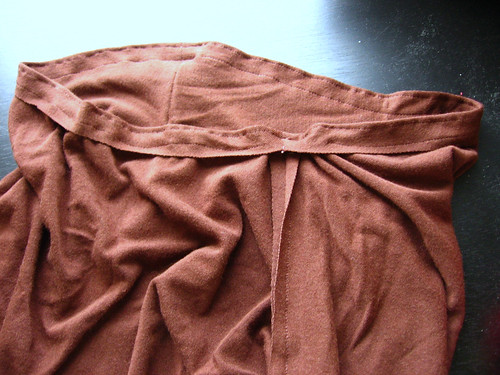
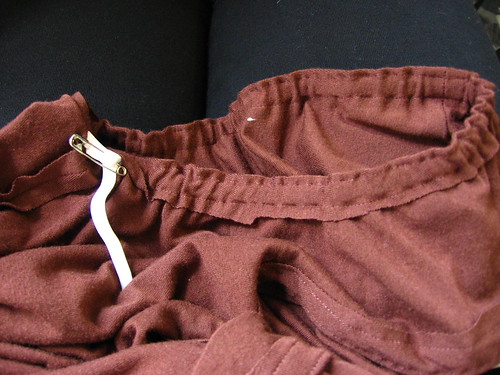
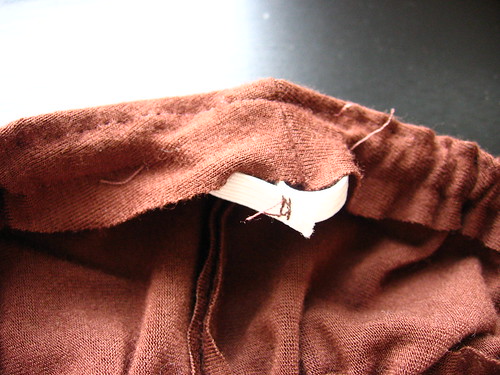
Using a stretch stitch again, sew 1/2" in from the folded edge, starting at one side seam and sewing all the way around the waist. Fold this little flap down and sew it down flat to the dress body, starting at the side seam again but stopping 1" before the starting point to leave a gap to insert the elastic.
Using your waist as a guide, cut a piece of elastic and thread it through the casing you created then safety pin in place. Try on the dress and adjust the elastic length/pin as needed, bearing in mind that you will want it to be pretty snug (especially if you are planning on wearing it bloused out or as an empire waist). Sew the elastic at the point that you pinned it, then pull it back in and sew the opening closed.
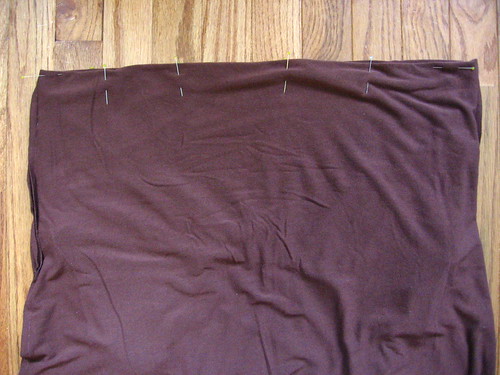
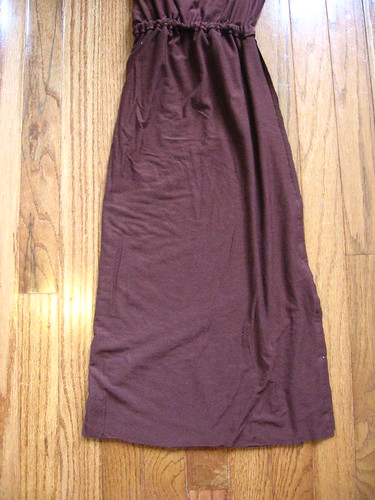
Try the dress on and decide where you want the hem to fall - mark this point with a pin or safety pin. Take off the dress and lay it on a surface, and fold it in half again (as it was when you cut out the pieces). Cut the hem about 1" below the point you marked, cutting a slightly curved line as shown above.
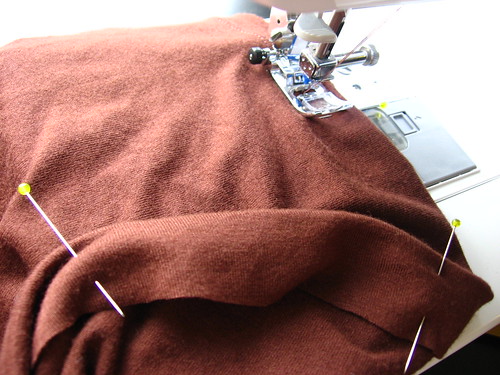
Fold the hem 1" toward the wrong side and pin in place. Using the double needle if you have one (
here is a tutorial on how to sew with the double needle), or a stretch stitch if you don't, sew on the right side about 3/4" up from the edge. I went back and trimmed the back so that there wasn't a lot of extra fabric outside the stitching, but you don't have to.
Enjoy your new dress!


