Thanks everyone for your well wishes and nice comments on
my last post! As I mentioned, I really want to get back to blogging, but I have been continuing to have the challenge of having too big a backlog of things that I want to share. So, I am going to just jump in, post whatever I feel like or in the order that seems to make sense, and try not to worry if there are things that just don't ever get blogged.
This particular post is one that I have been thinking about for a while. Most of the quilts that I have made have been baby quilts, and so until I had a baby, most of the quilts that I made were gifts (in fact, I realized that Esther's baby quilt is the only actual quilt that I have finished and kept other than my very first small sampler quilt). I know that many other quilters feel my compulsion to welcome new life with a soft, cuddly handmade creation. But I also know that for me, I just love the process of making quilts, and while I put a lot of thought and love for the new baby into them, I also never worried too much about if/how they were used after they were gifted. So it has been an unexpected joy as I have become a mother to see how loved those quilts are by those who receive them.
One lovely gift that we received before Esther was born was a joint present from a group of our friends back in DC - all of whom have small children that I had made quilts for. Before sending us the gift, they sent pictures of each of the children with their quilt, holding up signs saying that they love their quilts but since their moms don't quilt they wanted to buy us the crib on our registry. Honestly, seeing all the photos of the kiddos (some still babies, some older) with their quilts was as great a part of the gift as the crib itself! It was so nice to know the quilts are being used and loved.
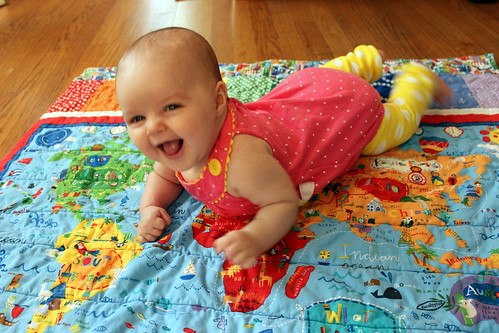
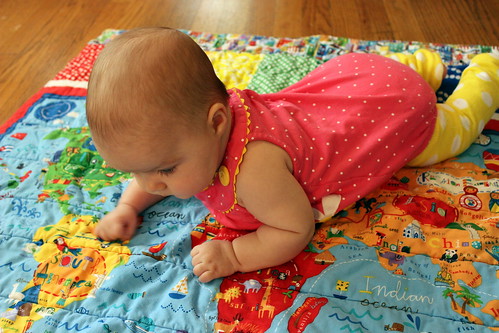
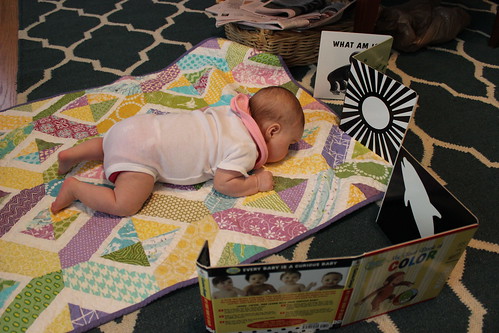
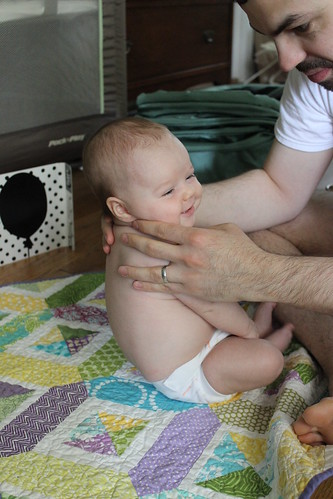
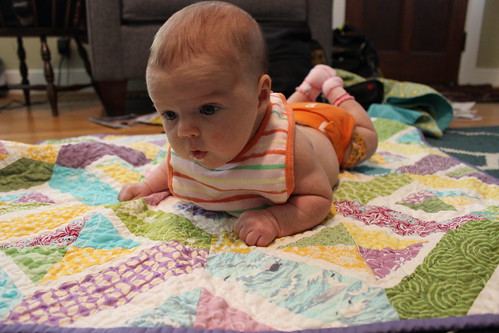
Later, at one of our childbirth/infant care classes, the instructor asked everyone by way of introduction to share a favorite gift that they had received so far. I was amazed that at least half of the people said it was a quilt that a friend or family member had made for their baby - more than any purchased object, it was clear that these handmade gifts are cherished treasures. Now that Esther is here, I have been joined a playgroup and have been going to other moms' houses, and there is always a quilt laid down on the living room floor for the babies to play on (or brought to the park, or put down on the deck or the lawn) - and there is always a story of who made the quilt for them, with love. And as you can see from the photos here, Esther spends a lot of time playing on quilts at home too!
I just wanted to share these anecdotes as a kind of group thank you from new moms to all of you quilters out there - you may have realized how loved your gifts are, but in case like me, you didn't fully know, here it is.
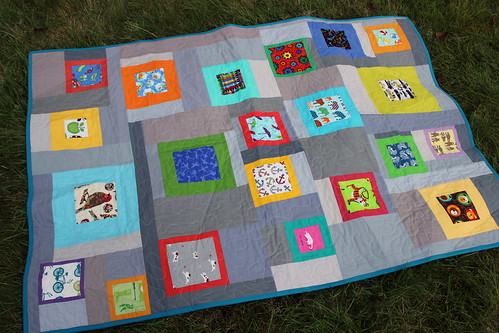
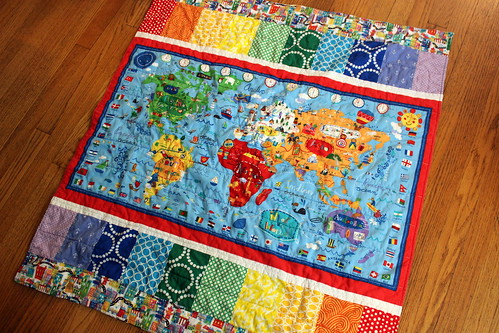
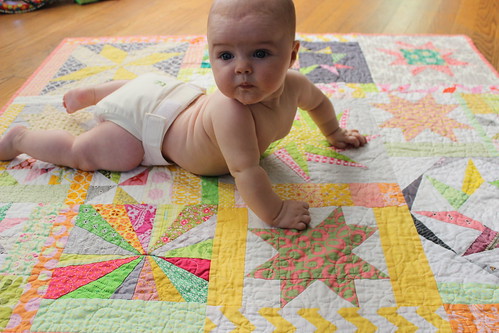
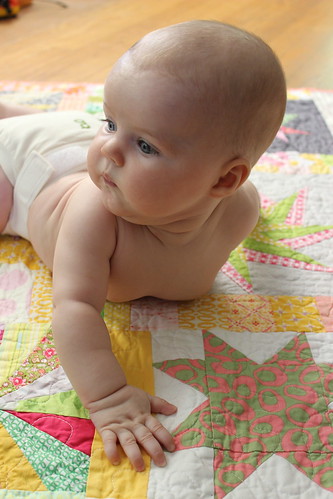
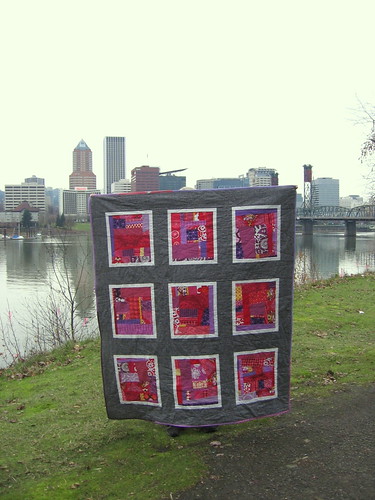
So, on to the actual quilt in these photos! I had a very hard time deciding what quilt design/color scheme I wanted to make for Esther's quilt, and didn't even start it until the last month or two before she was born... finally I had to tell myself that I would surely make her more than one quilt and not to stress out too much about this being her official one and only "baby quilt" that I made her.
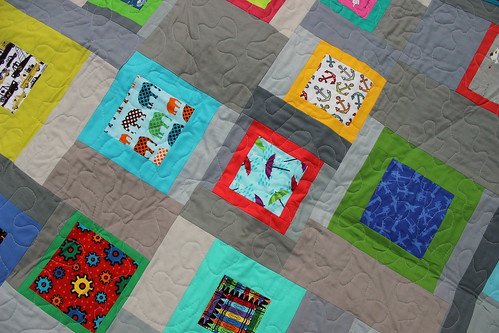
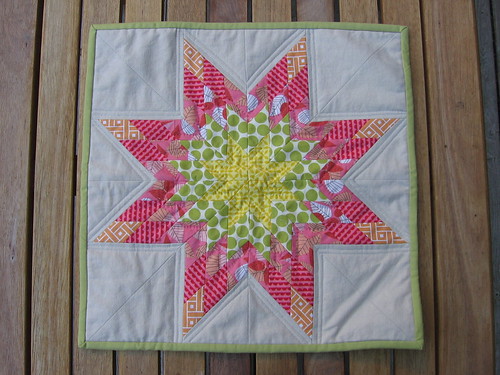
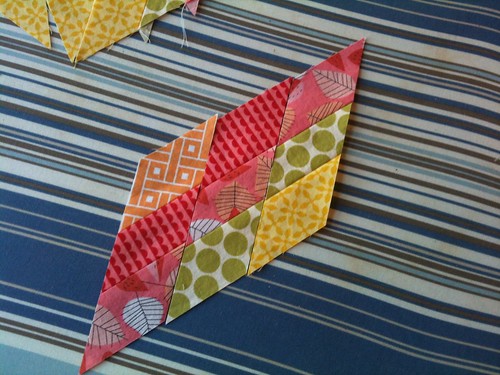
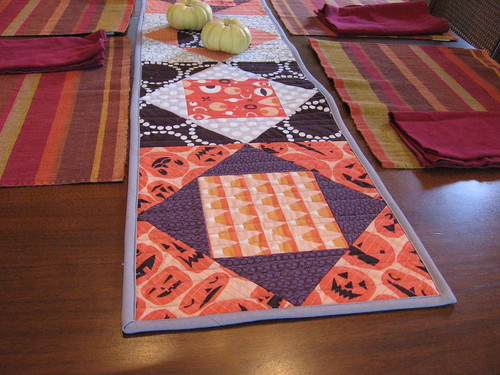
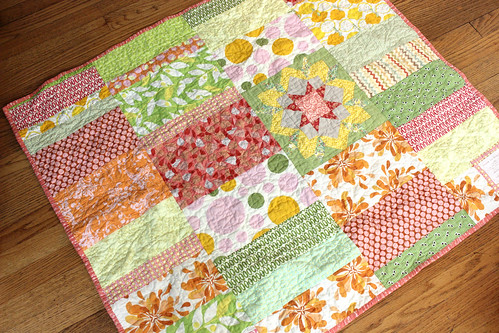
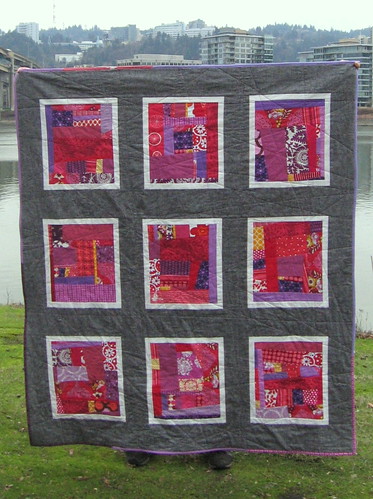
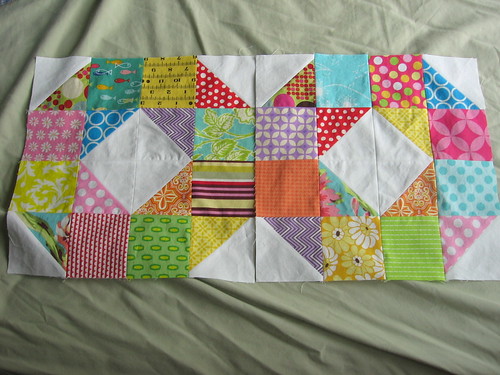
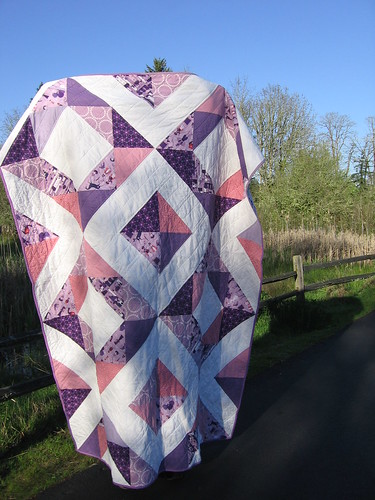
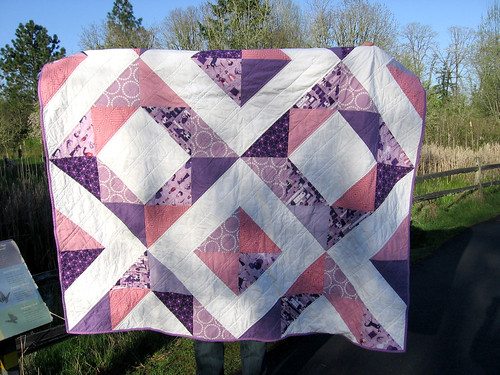
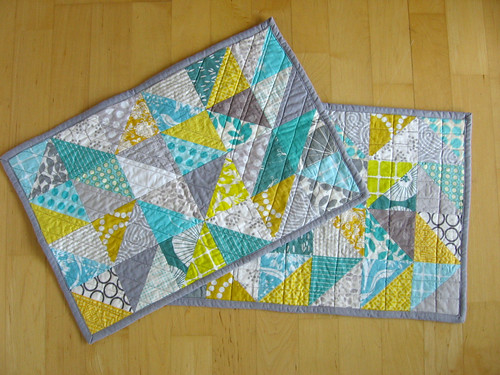
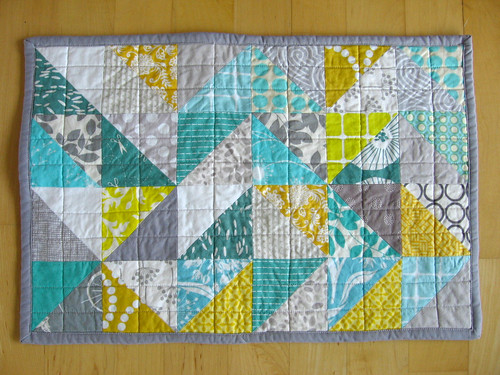
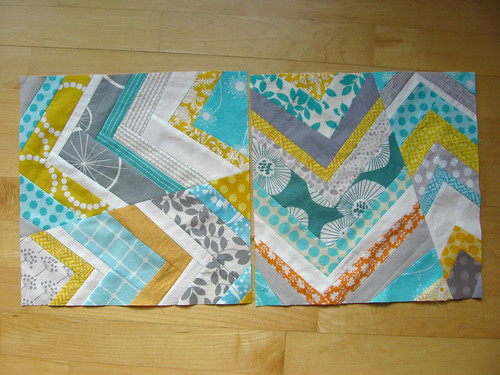
The design was inspired by several quilts I had seen with a square pattern like
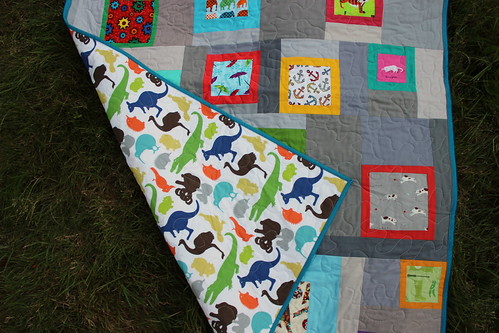
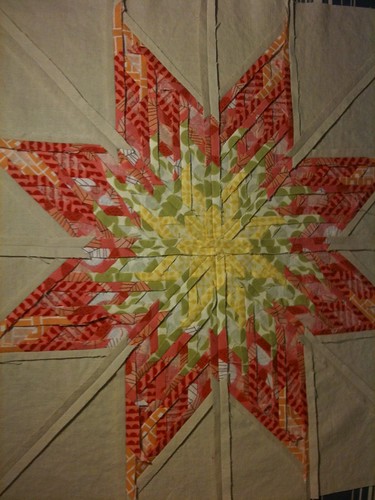
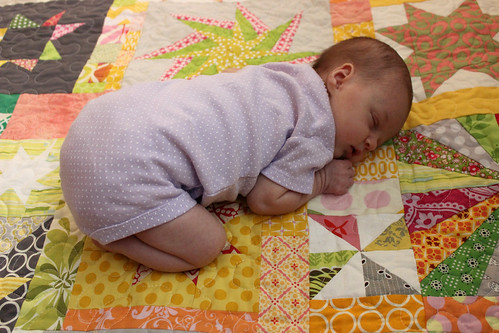
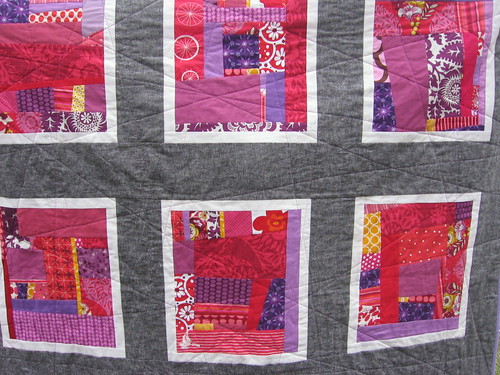
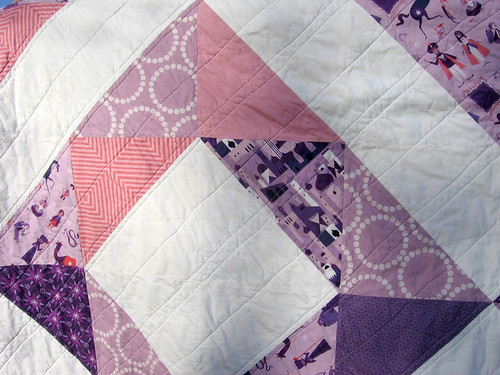
this one by Amy Smart of Diary of a Quilter - I thought it would be fun to make it with rectangles, though. I also made it so half the white diamonds were wider and half were skinnier - I like the way it turned out, but I think I might actually like it better if they were either all the same width or the differences between the two types of diamonds were more striking. I realized I haven't taken any photos of the finished quilt that don't have a baby in them, but I figured you all wouldn't complain too much! Hopefully you can get a pretty good sense of the design even though you can't see the whole thing at once.
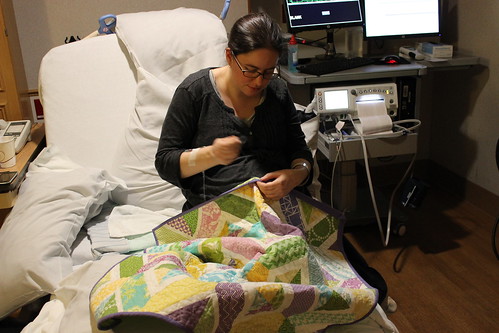
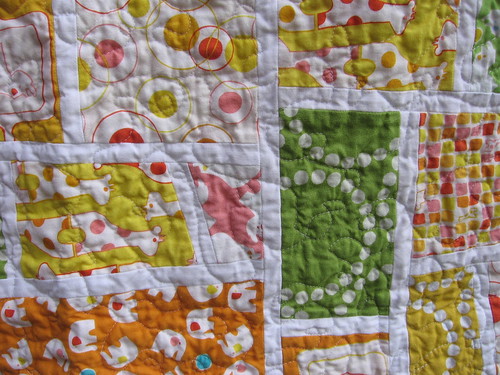
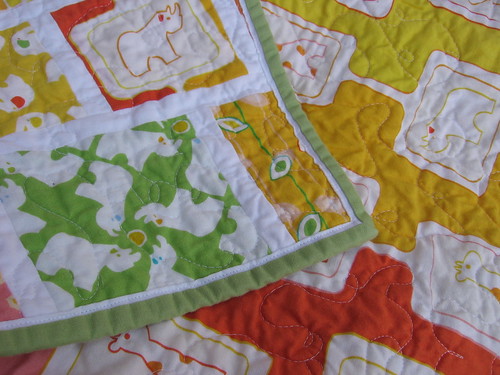
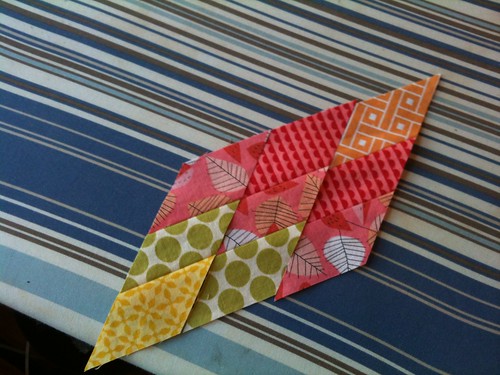
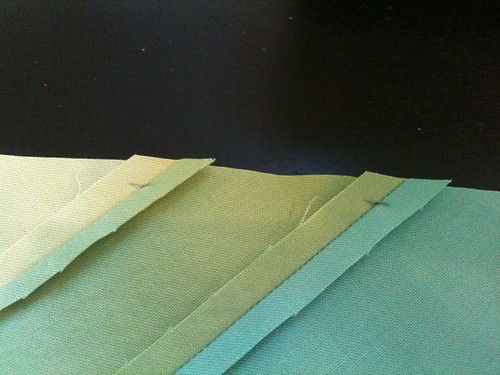
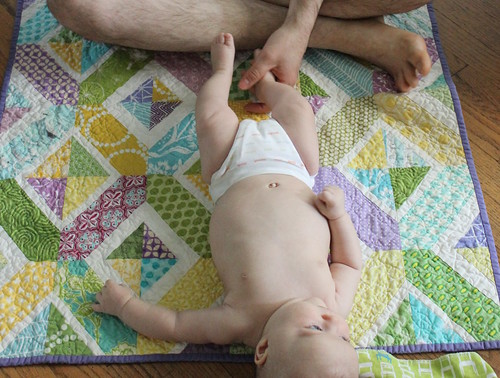
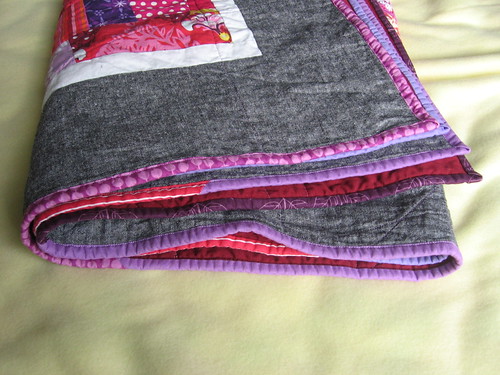
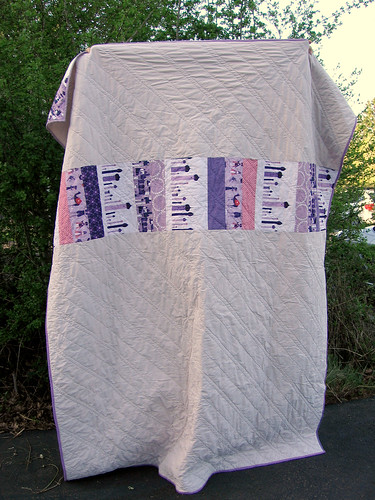
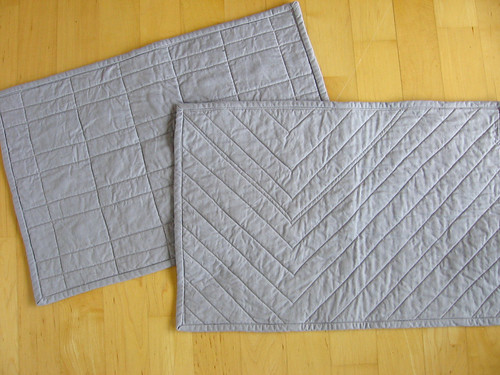
I foundation paper pieced the blocks with templates that I drew, so the sewing went pretty quickly (which was good, since I was really pregnant and pretty low energy by that point). I picked the color scheme thinking of springy colors and then as it came together I realized it was pretty eastery.... not totally what I intended but I am OK with it. I free motion quilted it with simple loops (it was really quick since its so small), and was actually finishing sewing the binding on in the hospital as we waited for my labor to really start! Lawson said that he knew the baby couldn't be born until I finished her quilt, so I guess its a good thing I brought it with me.
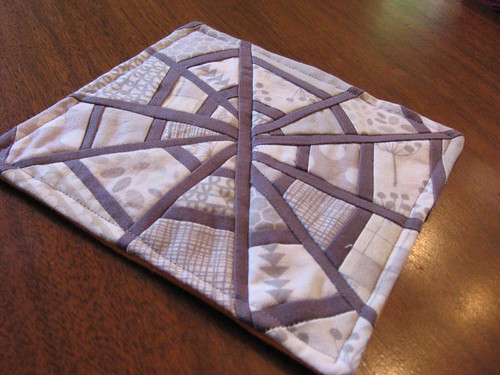
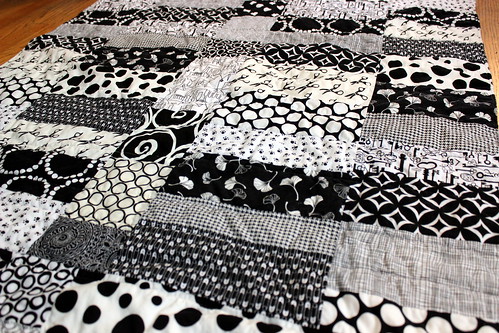
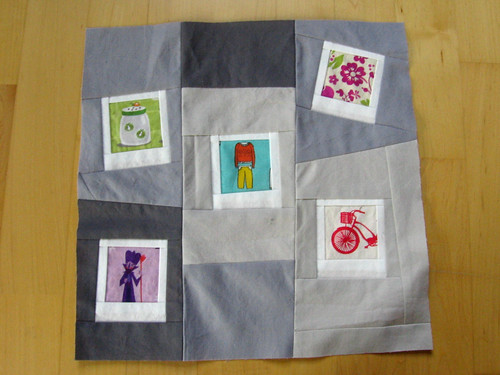
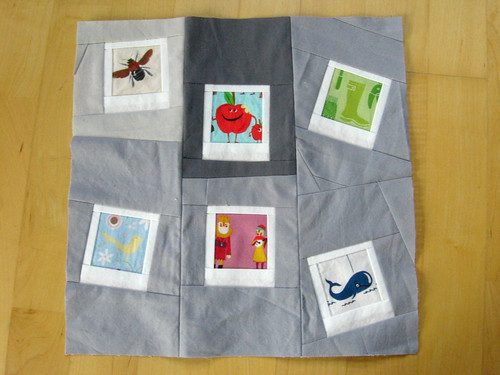
I also want to share a wonderful quilt that my friends in the do.good stitches love bee made for me, and another quilt/play mat that I made since she was born... but since this post is already way too long, I will save both of those for later posts.