Since Wednesday, when I
showed off a few t-shirts that I had sewed, I have made several more t-shirts and then decorated them all. I was having so much fun making them that I went to the thrift store and bought some more t-shirts and jersey pillowcases to repurpose so that I could make more of them! I ended up making 5 small (18 month size) t-shirts for my nephew (who is about to turn 1 - but I think he is on the big side and I wasn't sure how the sizing would work so I erred on the side of larger), and 4 larger (4 year old size) t-shirts for
project first day. It's a good thing I didn't get more supplies at the thrift store or I would still be making these, they are so fun to make and to decorate!
My original plan had been to do freezer paper stencils on all of them, similar to the
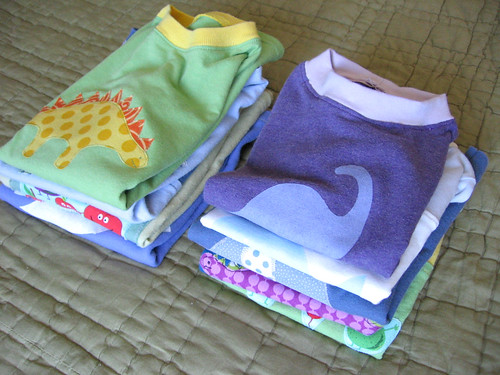
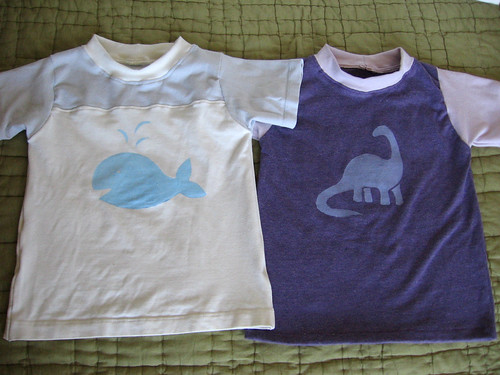
onesies we decorated as a baby shower activity. I did do a few this way and am really happy with how they turned out - I especially love the purple dino on the right above. These two are both in the little size...
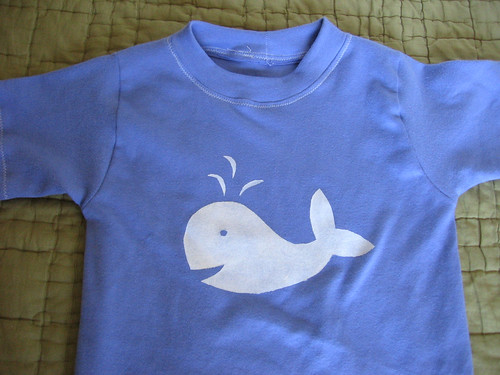
And I also decorated this bigger sized one with a whale. I was a little concerned that the blue might look too lavender colored to be for a boy, so hopefully the whale helps keep it boy-appropriate.
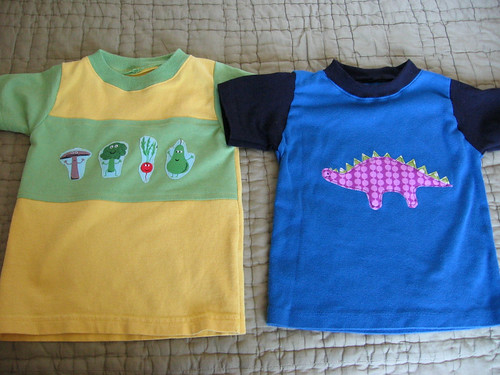
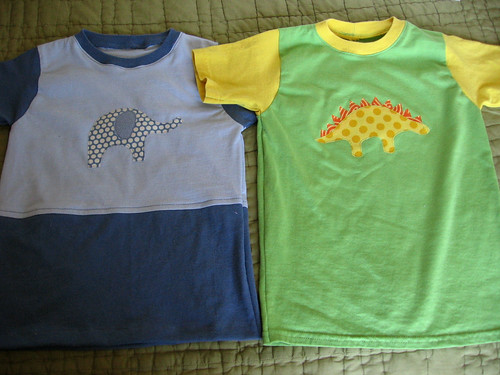
I ended up decorating most of them with fabric appliques, though, which I think turned out really cute! These are both the little size. I colorblocked the green and yellow t-shirt (and a number of others you will see), mostly because the fabric wasn't big enough otherwise. The pattern (charlie tee from
Fishsticks Designs) has pattern piece options for colorblocking but I just winged it, sewing the fabrics together first and then cutting the pattern piece out of the colorblocked piece.
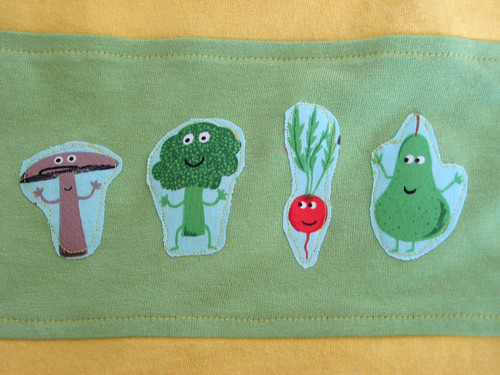
I used some of my leftover edgy veggie fabric from backing the
rainbow rail quilt to applique a few cute veggie guys on the front band of this shirt. I used the stretch stitch (that looks like a lightning bolt) to do all the seaming on these t-shirts, usually with my walking foot, and as you can see it looks mostly like a straight stitch and works fine even for top-stitching.
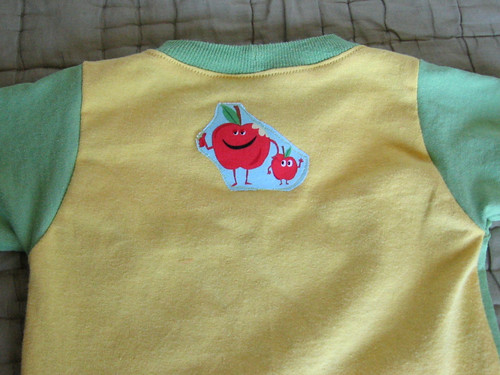
And I put a cute pair of apples on the back, too.
These two are the bigger size. On a lot of these tees I was able to reuse the existing hem from the t-shirt and on the sleeves (adjusting the pattern to remove the hem allowance), and on both of these (and a few others) I was able to reuse the neck ribbing too - it was kind of a pain to rip out of the original t-shirt, but the necklines definitely turned out the best for these so I'm glad I did it! You may also be noticing that I really liked the look of using one color for the body of the tee and another for the sleeves and neckline - it works out well because you can basically combine two existing tees to make two new ones.
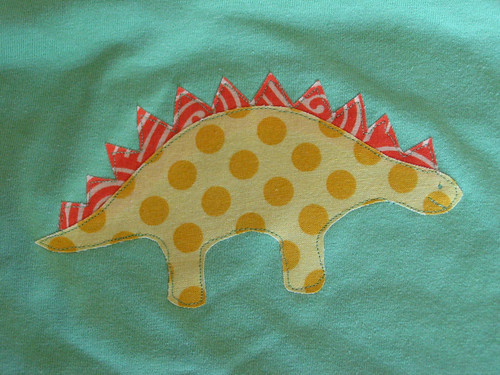
I love the cute dinos on this t-shirt and on the blue t-shirt! I especially like the little face I was able to make since I did free-motion applique to sew it down.
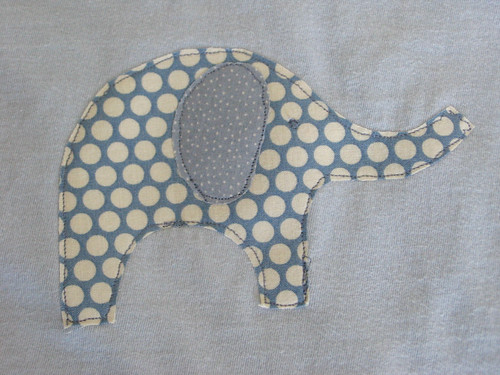
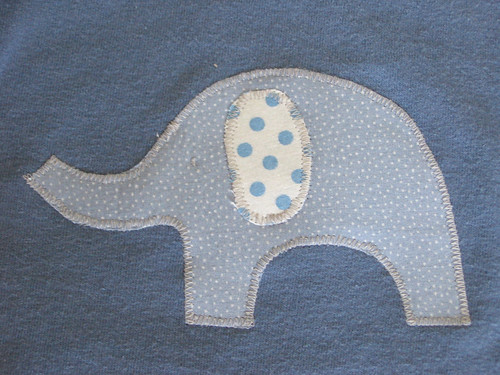
I love the elephant too.
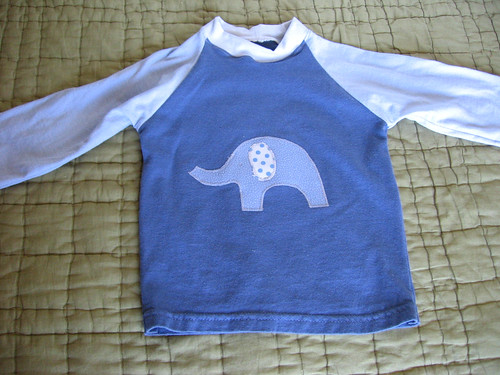
I also made a long-sleeve raglan t-shirt in the little size with an elephant on it.
This was the first applique that I did of the set and I sewed it down with a zigzag, which I think looks cute too. I ended up doing the rest with free-motion applique because I found it a bit easier and I like the loose drawing-like quality of the line.
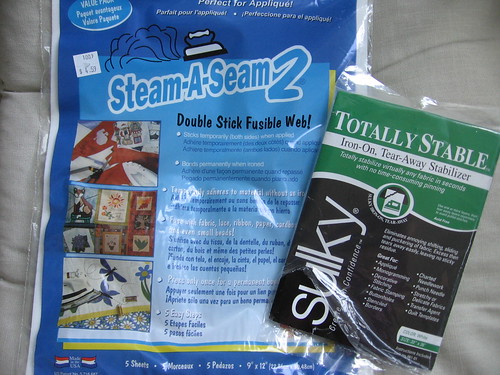
At first I used both fusible web and iron-on tear-away stabilizer when I was doing the appliques, but towards the end I realized that the fusible web alone really stabilized it enough and I skipped using the stabilizer. For most of the t-shirts, I did the applique after I cut out the pattern pieces but before I assembled the t-shirt, so that the fabric was easy to keep nice and flat. I did sew the purple dino on the blue shirt after it was already assembled, though, and it worked fine too - I just had to go slow and adjust it a few times.
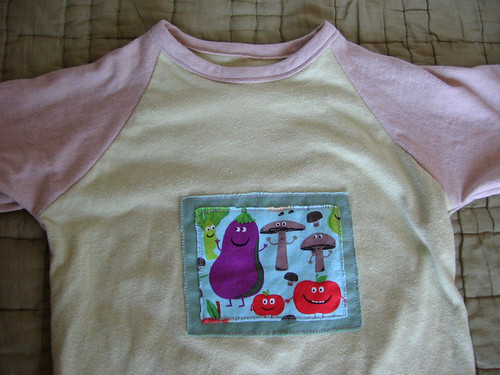
Finally, I also made a raglan tee in the bigger size (using the fishsticks Rockin Raglan pattern) with an edgy veggie fabric patch on front. For this patch, I wanted to edges to be frayed so I didn't use the fusible web and so I did need to use the stabilizer. I used a few dabs of glue to keep the two layered fabric patches in place sewed both down with a straight stitch, going around twice to make sure they were well-secured since they weren't fused in place. Then I used my fingernail to loosen the stray threads and fray the edges a bit.
I also did a different neck on this t-shirt because I didn't have any matching ribbing, interlock, or extra-stretchy jersey. I just used regular jersey and sewed it on in a single layer, than folded it around to the back and top-stitched it down - it makes a cute, thinner neckline. I know those directions probably don't explain it well enough, I am hoping to do another project soon that uses this and I'll be sure to take pictures to explain it better if I do.
Sorry for the super long post, I just had so much fun making these that I wanted to show them all to you!
