Thanks so much for all your kind wishes on my last blog post! I am looking forward to catching up with posts on many of the things I have made over the last 6 months, and thought I'd start with a round up of some of the sewn gifts that I have made. I have been making baby crafts too so I promise to share some of what I've been making to get ready for baby soon!
Starting with the most recent first, my mom asked me to make her a plastic bag holder for Christmas, and I was struggling a bit with which fabric to use until she said she really liked some scrappy bee blocks I'd made - so I thought I'd do some scrappy patchwork. I used the Anna Maria Horner Totem print as the inspiration fabric and then pulled lots of other prints from my stash that went with it to make a big patchwork block, then made up my own design to turn it into a fully lined bag holder. I'm happy to say that my mom really liked it!
I also made a couple dumpling pouches using the tutorial from Michelle patterns, but this is the only one I remembered to take a photo of before gifting. I had bought this Joel Dewberry fabric (from the heirloom line) without a specific purpose so it was fun to get to put it to use! It was fun to try the pattern, this was the first time I had done a curved zipper like this and she explained it very clearly, I was really happy with how it turned out. I only tried the "easier" curve one but maybe if I make more I will venture the smaller, curvier one!
Earlier in the year, I made my mother in law a quilted wine tote using my tutorial for her birthday. It's always funny to go back and follow your own patterns/tutorials when you haven't looked at them in a while! This time, I used insulated batting to make the tote so that it would help keep wine chilled in transit.
For her birthday, my mother had asked for some throw pillows with fun fabrics - I love Sandi Henderson's secret garden fabric line, and it reminded me of my mom and the colors she likes, so I used mostly fabrics from that line and then some other coordinating fabrics from my stash. The pillow on the left is a flying geese block with a kona ash background, and the pillow on the left is a design I made up with a white background. I like them both although I think I like the clean look and contrast of the white background a bit more.
And I couldn't resist showing off a few of the great fabrics in this line on the backs of the pillows!
Hope your new year is off to a good, crafty start!
Showing posts with label pouches and purses. Show all posts
Friday, January 11, 2013
Tuesday, January 03, 2012
A Lotta Holiday
Now that all the holiday presents have been gifted, I can show off some of the things I have been working on! I ended up making nearly all my sewn holiday gifts with Lotta Jansdotter's fabric line, Echo, so I'm putting all of those gifts in this post and will come back and share the others after I finish up one last (totally late) gift. It's funny, when I first saw Echo I wasn't sure if I would get any - which is crazy, since I have several of Lotta's books and love her designs. But I just wasn't sure it would play well with other fabrics and I didn't want to make a whole quilt out of it. Then when I started thinking about making holiday gifts, I decided to use it to make a few gifts... and then realized that it would be great for a number of folks on my list and ended up going back to get more fabric! Getting to use a fabric that I loved made the last minute frantic holiday sewing still feel fun, and I think everyone really liked their gifts.
I made a couple totes using my easy tote bag tutorial - the one at the top was sized up quite a bit to make a more substantial bag, while the one above was the regular size.
I also made a matching zip pouch to go with this tote, with some essex linen and a line of hand-stitching as an accent.
I think this tote bag with a reverse applique circle was my favorite sewn gift that I made - the idea of the circle with the off-kilter stitches was inspired by this bag on flickr.
The inside is lined with another Echo print and has a pocket.
Finally, I made a couple potholders, using a cut up bath towel as the inner layer rather than batting - I made a whole slew of potholders as gifts five or six years ago and that was the method I came up with at the time, it makes a nice, well-insulated potholder although the terry sheds everywhere in the process.
More essex linen on the back of this one.
Luckily I still have a bit of Echo left so I can make myself a little something too!
Monday, March 07, 2011
More Tote Bags and Pouches!
I have been having a lot of fun sewing up tote bags from the easy tote bag tutorial I posted - mostly with a contrasting band of fabric at the top because I love how that looks - and also some more zip pouches.
Some of the pouches I made with my pleated pouch tutorial and some are basic rectangular pouches with a fun pieced stripe. You may notice the similarity between these fabrics and the tote bags...
That's because I thought it would be fun to make matching sets!
Or really, I should say coordinating. I had fun picking out fabric combinations that used the same main fabric and went well together but didn't use exactly the same fabrics.
For this one I used coordinating fabrics from the Modern Meadow line - I love this line and am stashing fabric to make a quilt with it someday, but decided I could spare a little for these bags.
I think there are all kinds of fun uses for a tote and matching pouch, including just using it as a purse and simple wallet, but the biggest one I was thinking of was as a knitting or hand-sewing project bag and matching notions pouch. I always use tote bags to carry my knitting and love that I can hang it over my arm while standing and waiting and just stand and knit without my yarn getting everywhere! Maybe there's a knitter or sewer in your life who would like a set? You can whip them up using the tutorials or all of these are listed in my Etsy shop!
Friday, March 04, 2011
Men's Boxy Toiletry Bag
On our recent trip to Atlanta, it turned out that not only did I lose my wallet, but Lawson lost his toiletry case. We thought it had been left at home but it wasn't here when we got back so he must have left it on the plane when he was getting stuff out of his carryon. He also allowed as to how he was feeling a bit left out that I had been doing all this sewing but hadn't made anything for him. So, the clear solution was for me to make him a new toiletry case to replace the lost one. I made it to be a similar size as what I remember the old one being, which is a bit on the smaller size... but he's a guy, he doesn't have a lot of toiletries anyways.
I had seen some tutorials online for boxy bags like this before so I had a basic idea of how I wanted to put it together and then I figured it out from there. I put a handle on one end to make it easy to carry. The outside is a cool-looking (and man-appropriate) grey denim that I found in the remnant bin at our local fabric store recently, and it is lined with some newly-acquired navy on white Metro Living circles. I love this fabric and will definitely be getting more. It made me a bit nervous to be making a toiletry bag out of all (non-waterproof) cottons, but he insisted it would be fine. I guess everything potentially leaky goes in the TSA-mandated ziploc bag most of the time now anyways, and at least it is machine washable if it gets gross.
All in all, definitely a fun project and just in time since he has to leave on a work trip on Sunday!
Have you made any fun crafts for the men in your life lately? What are your favorite crafts for guys?
Monday, January 24, 2011
Big news! I opened an Etsy shop!!
I am super excited to let you all know that I have opened an Etsy shop! I have felt a bit like I was keeping a secret, as I was crafting away making a bunch of stuff to post in my shop and not blogging about any of it. But now that my shop is up, I can tell you all about what I have been making! Here is a quick rundown of some of the stuff that I have put up or will be soon...
I made a number of pouches from my pleated pouch tutorial, some of which are shown above.
I also made some really fun patchwork clutches, similar in size/construction to Noodlehead's gathered clutch but with a fun patchwork stripe on the front instead of the gathered piece.
I got excited about valentines day and made some valentines gifts and cards...
More patchwork clutches in a fun pink color with some of my favorite pink and red fabrics in the patchwork stripe.
And I had so much fun making these cute little watercolor valentines! I make homemade valentines for a few special folks in my life each year and these are a reprise of a past favorite.
I am also listing some pottery that I have made. Most of the pots I am going to put up will be celadon-glazed porcelain vases, including the ones above, very similar to the pots that I had at my wedding. I haven't blogged too much about my pottery I realize, so it is fun to get to show some more to you.
Finally, I think I am most excited about this messenger bag!
I loved doing free-motion embroidery/applique on my needlebook and was excited about the leafy vine design, so I made a similar design on the flap of this purse. The purse incorporates some of my favorite design features including an organizer pocket under the flap and a zip pocket inside. Check out all the details here. I definitely plan to make more of these purses and hope to even write up a pattern to sell in my shop!
I'm so excited about having the shop up (did I mention yet that I am excited?), especially because now I can share all my projects as I make them! As you can tell from the initial set of items I listed, I am planning to sell items that run the gamut of my crafty interests. I am not sure this is the best business plan as a lot of successful etsy shops seem to specialize in certain types of products, but I like making so many different types of things I just can't really imagine limiting myself to making just one type of thing. Check out my shop and let me know if you have any thoughts or advice for me!
Monday, December 13, 2010
Giveaway Day
Today is Sew Mama Sew's Giveaway Day! I am very excited to be participating... I will be giving away a zippered pouch and a zippered coin purse. I made the pouch with my pleated pouch tutorial, but I made it a bit bigger - it measures approximately 8"x7"- and the coin purse is about 4"x3.5".
Both the pouch and the coin purse have green fabrics on the inside as you can see below.
There are a lot of giveaways going on today so I am not going to ask you to jump through a lot of hoops - just leave a comment below and for fun, tell me what your favorite holiday cookie is (to make or to eat!). No more than one comment per person, please; international entries are allowed. Please be sure that I can contact you through your profile or your blog - or put your email address in your comment. The giveaway will close on Friday 12/17. While you are not required to become a follower or anything to enter, I hope you will look around the blog and come back if you like what you see!
--GIVEAWAY CLOSED!! THANKS TO ALL WHO ENTERED :) --
Friday, December 03, 2010
Card Wallet Sewing Tutorial
As promised, here is a sewing tutorial to make a cute card wallet with a button and elastic closure. These are great for when you want to just carry a few cards and maybe some cash with you instead of a big wallet, or you could use them to hold business cards. Also, in the spirit of the holidays, you could use these as gift card holders that then have a useful life afterwards! They are very quick and easy to make - I hope you enjoy the tutorial! If you make a card wallet with this tutorial I would love to see how it turned out - you can share a photo in the Needle and Spatula Flickr group.
TERMS OF USE: For personal, non-commercial use only. If you are interested in making these wallets for small-scale commercial sales (eg craft fairs, etsy), please contact me and we can discuss a licensing agreement.
DONATE TO SUPPORT THIS TUTORIAL - this tutorial is provided free of charge, if you would like to show your appreciation and support the free patterns I provide here, you can donate here (or it helps if you click through to any of the amazon links on this site, whether you purchase that particular product or not!). Thanks for your support!
What you will need:
- A 5 1/2"x3 1/4" piece of outer fabric and same size piece of mid-weight fusible interfacing
- A 5 1/2"x9 1/2" piece of outer fabric and same size piece of mid-weight fusible interfacing
- A 5 1/2"x12 1/4" piece of lining fabric
- A 3 1/2" long piece of elastic - I used a hair elastic in a color that matched
- A coordinating button - I made a fabric covered button using a kit I have
- Thread in a color that looks nice with your fabrics
I actually cut out the interfacing first then fused it to the two front pieces, then cut them out to be the same size, but you could also cut both out first then fuse.
Find the midpoint of the top 5 1/2" edge of the larger piece of outer fabric, and fold the elastic into a loop and hold it at the midpoint.
Place the smaller piece of fabric on top (right sides facing) and pin to either side of the top of the elastic to hold in place. Now the loop of your elastic is sandwiched in between these two layers. Sew the pinned seam, then after you sew you can trim some of the fabric near the corners above the seam (sorry I didn't get a pic of this trimming, but it helps make the final corners of the wallet less bulky and easier to sew, so hopefully you get the idea).
Fold open and iron flat. I actually just cut out the second piece of fabric using this front piece as a template, but you could also cut it out at the beginning.
Either way, pin the lining and the outside piece together with right sides facing. Leave an opening at one end that you will not sew.
Sew around the edges, leaving the unsewn opening as pinned (about 3" or more wide) Be sure to backtack (sew a few stitches in reverse to secure) at the beginning and end. Trim the corners, making sure not to cut into the stitches.
Turn rightside out using the opening that you left, and push out the corners then iron flat. Be sure to fold under and line up the edges where you left the opening. Then topstitch across the two short ends (including the one with the opening), 1/8" from the edge.
Fold the side with the elastic at the point where there is a seam on the outside and iron down in place. Then, fold the other side by about the same amount, leaving about 1/4"-1/2" gap in between the two sides. Pin both sides in place and then sew along the edges to secure 1/8" from the edge (eg, along the top and bottom edge as shown below). Using the length of the elastic as a guide, hand sew a button to the outside of the wallet (as shown in the pictures of the finished wallet). You are done, enjoy!
I hope you found this tutorial helpful! I have done a couple of these now, let me know if you have any feedback - I hope I am providing the right level of detail/enough photos and explanation for folks to follow.
Thursday, December 02, 2010
Pleated Pouch Sewing Tutorial
I originally posted this project in August and have been meaning to make it again to do a tutorial ever since. This bag combines elements from a number of different tutorials and projects out there, I basically mixed and matched elements to come up with what I wanted.
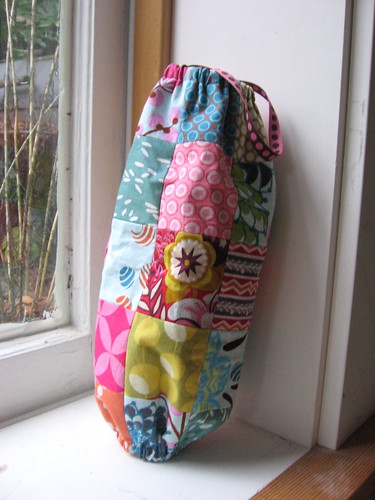
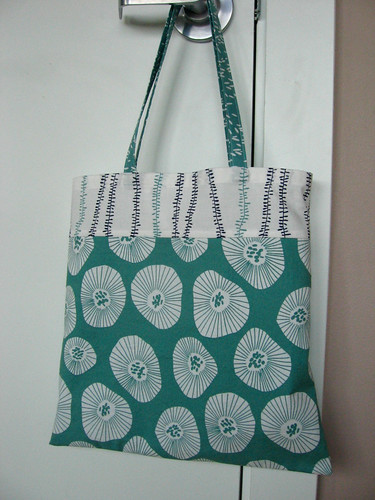
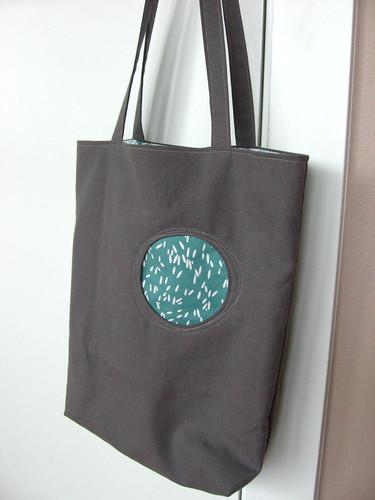
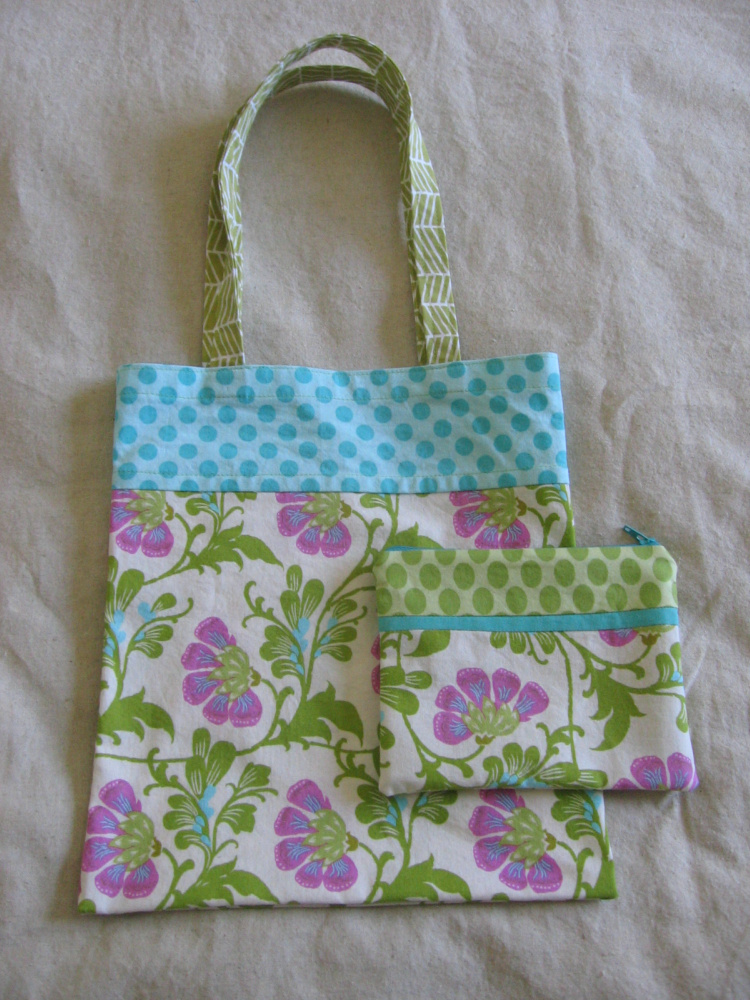
It has squared off bottom corners which give it a good amount of inside volume and a nice shape. It can stand up (and would stand up even more if made with home dec weight fabric or using interfacing). It would be great as a small makeup or jewelry bag, to hold knitting or sewing notions, or for whatever you want! Also, this is clearly not a grocery bag, but in the spirit of the 
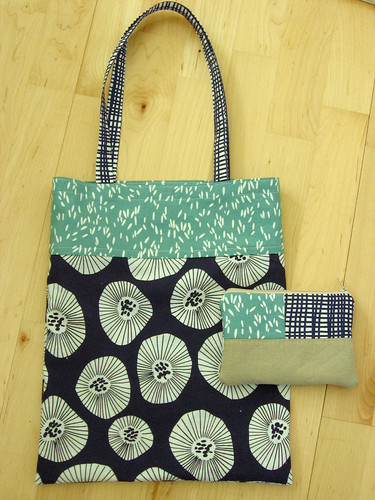
Green Grocery Bag Challenge, you could make these to use as "wrapping" for small holiday gifts. See below for the tutorial and for a sneak preview of another project (and tutorial) coming soon! If you make a pouch with this tutorial I would love to see how it turned out - you can share a photo in the Needle and Spatula Flickr group.
TERMS OF USE: For personal, non-commercial use only. If you are interested in making these pouches for small-scale commercial sales (eg craft fairs, etsy), please contact me and we can discuss a licensing agreement.
DONATE TO SUPPORT THIS TUTORIAL - this tutorial is provided free of
charge, if you would like to show your appreciation and support the free
patterns I provide here, you can donate here
(or it helps if you click through to any of the amazon links on this site,
whether you purchase that particular product or not!). Thanks for your
support!
What you will need:
- Two 2"x7" rectangles of fabric for top band on outside of bag
- Two 5"x9" rectangles of fabric for bottom of outside of bag
- Two pieces of fabric ~7"x9" for inside of bag
- 9" or longer zipper in coordinating color
- Mid- or light-weight fusible interfacing (if a stiffer bag is desired - I did not use)
- Thread in a color that looks nice with your fabrics
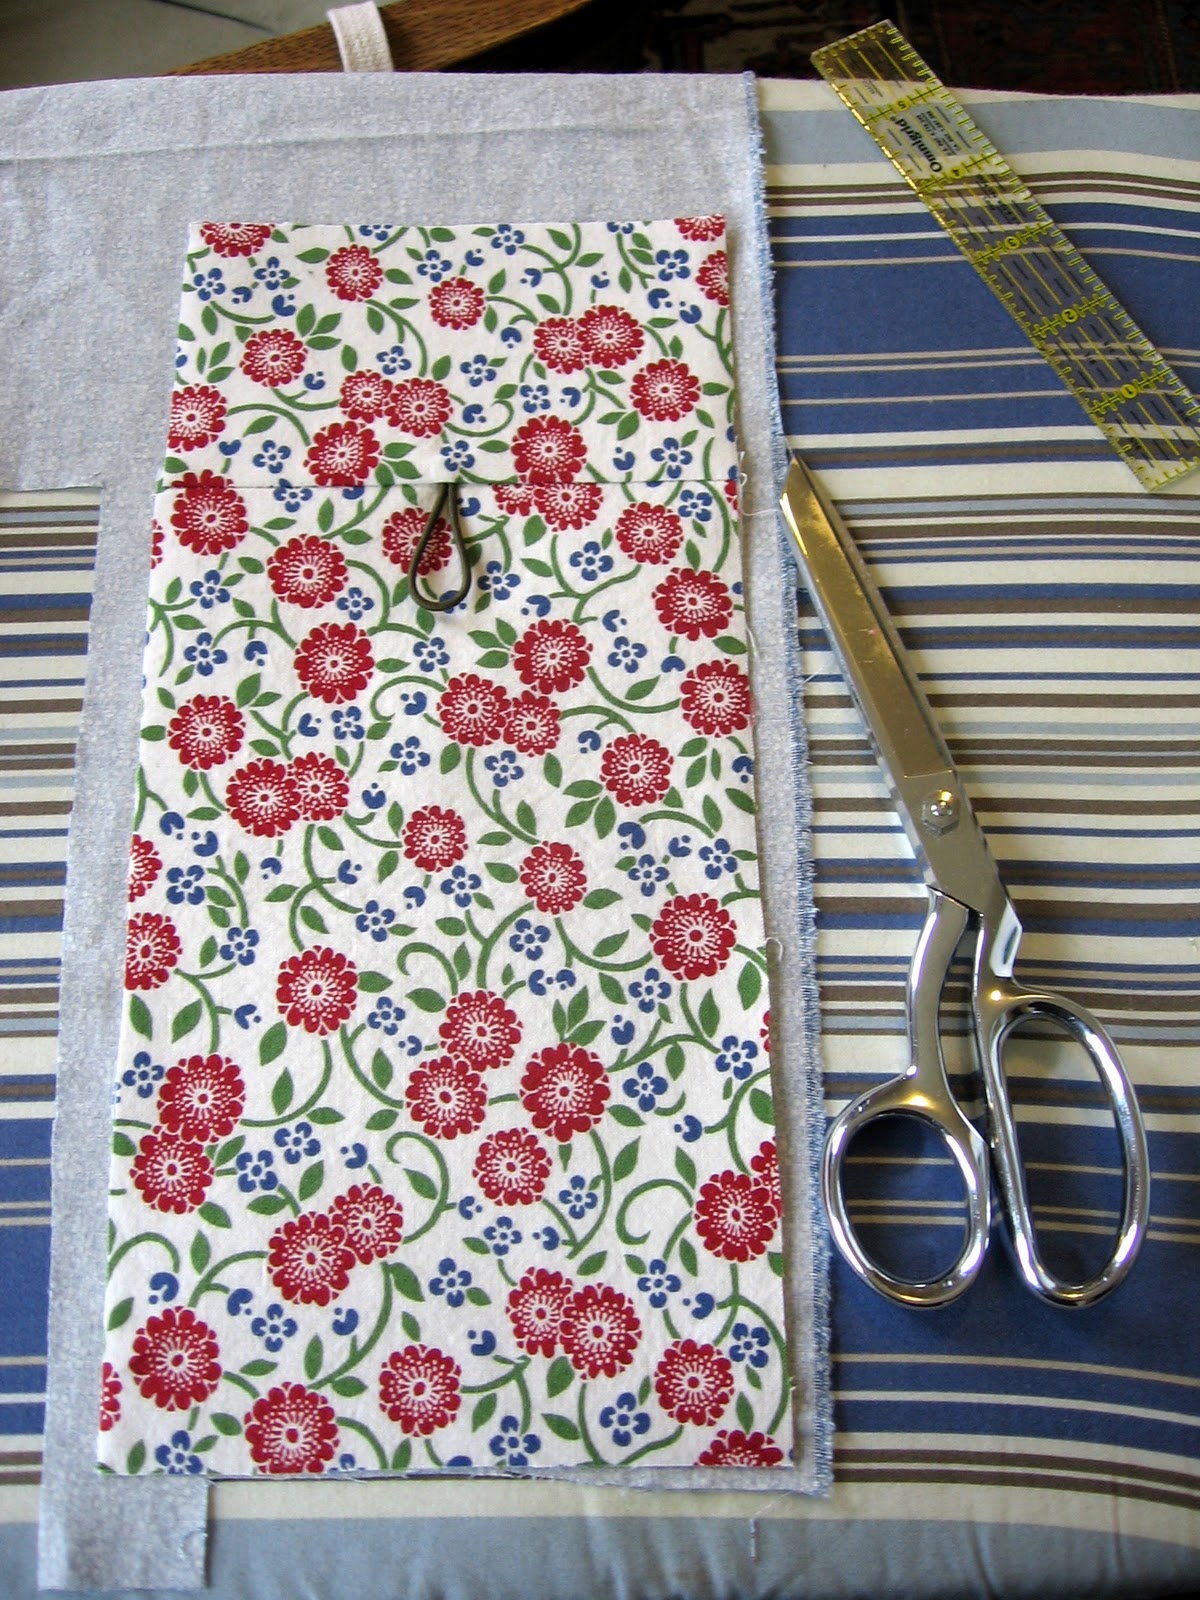
First, on the bottom outside pieces, mark lightly at the top (long) edge of the rectangle at 3.5", 4.5"(middle), and 5.5" from the edge. Mark just at the very top of the edge so that the markings will be hidden in the seam (I like to do this as extra insurance even if I use dissappearing ink).
Fold the two outer markings so each comes in to the center point and pin in place as shown below. You will note that the sides are now flaring up slightly. To get rid of this flare, lay a ruler on top of this piece at the same level as the center point (which is the lowest point on the top edge). Mark a straight horizontal line across the top edge as shown below, and then cut off the two resulting triangles (which should be the same size). Repeat for the other side.
Pin the front bottom pieces to the top pieces and sew together (sorry these next two pics didn't turn out great - I was trying not to use my flash but they are kind of blurry, I think you can still tell what to do).
Iron open and topstitch along the bottom edge of the top piece, if desired.
Place your outside piece face down on the lining fabric and use it as a template to cut out the lining pieces.
Now you should have two finished outer pieces and two lining pieces.
I do my zippers a bit differently from most other folks... I like to use an extra long zipper (mine is longer than necessary in this pic, this is just the size I had on hand), and then sew with the zipper pull off to the side - this way you don't have to worry about sewing around the zipper pull or accidentally sewing on the metal stop bits. If you want a neater look for your zipper ends, you could also use tabs like on Noodlehead's gathered clutch although then you would need to put the zipper pull in the middle from the start.
So, with the zipper facing up, sandwich the top edge of the zipper in between the outside and lining pieces for one side of the bag. The outer fabric should be on top and the lining fabric should be on the bottom, and they should have right sides facing eachother. Pin in place and sew to the zipper in about the middle of the zipper tape (1/8" to 3/16" from the edge).
Press both the outer and lining pieces to the opposite side.
Now repeat for the other side, making sure that the pieces are lined up centered above the other side.
Iron to the opposite side and unzip the zipper to the mid-point of bag. (Very important!)
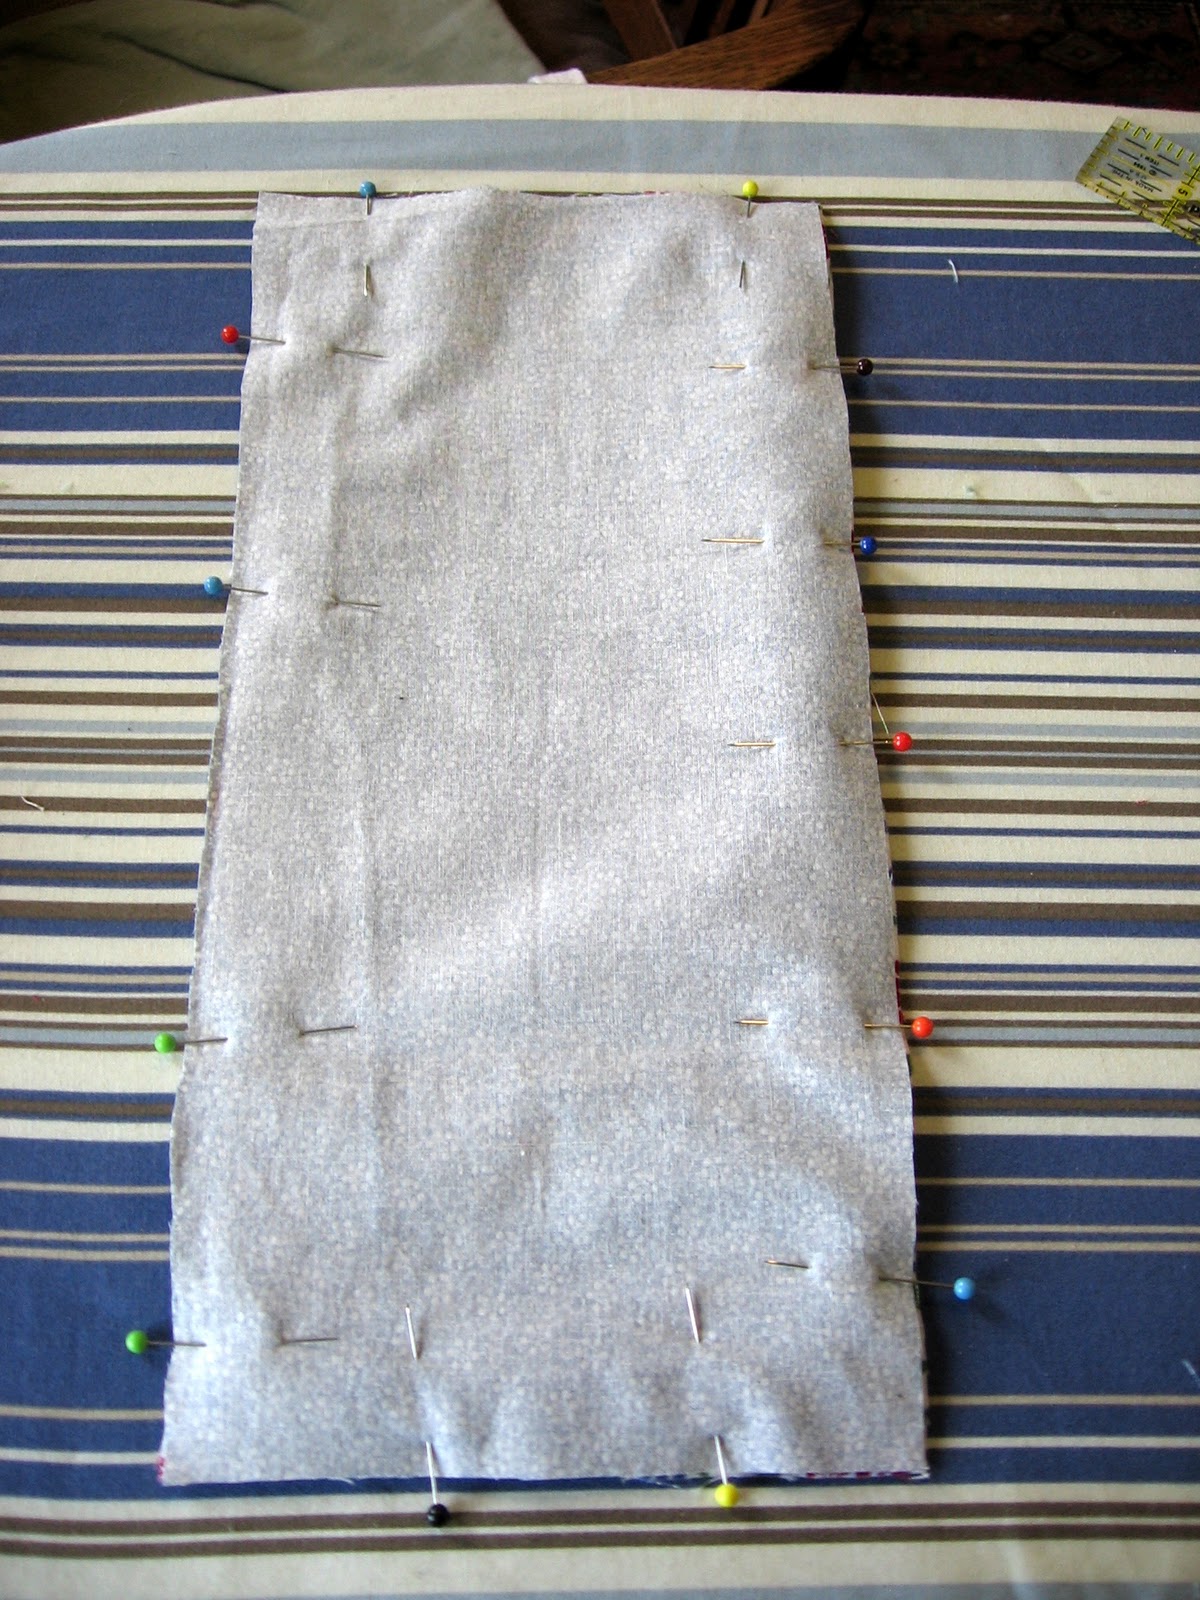
Now, fold the outer sides and lining sides of the bag together, right sides facing. Pin all the way around the bag but leave a 2-3" gap where you will not sew at the center of the bottom of the lining piece. Fold the zipper pieces to one side or the other (with the top of the zipper facing the lining or facing the outside of the bag) and pin securely at the zippers, particularly the unzipped side.
Sew all the way around, leaving the gap at the bottom. Be careful in going over the zippers, you are going through a lot of layers so your sewing maching may have issues (you may want to use a larger needle size for this step to make sure it is sturdy enough). I usually sew back and forth over the zipper ends an extra time to secure them but this may not be necessary. You can cut off the excess ends of the zippers now or at any point before you turn the bag inside out.
Iron the corners open so that the two seams lay on top of eachother and the corner forms a triangle. Mark a line perpendicular to the seams that is 1" down from the point (should be 2" across) - as shown below.
Sew just below the marked line (closer to the main bag body) for each corner, then cut off the ends leaving 1/4" or slightly more seam allowance. Once you cut them off you will see that the ends open up to be little squares.
Turn the bag inside out through the opening left in the bottom, then tuck the open edges inside the bag and press the edge to make it neat. Pin across the open edge and stitch as close to the edge as you can to close the opening (or you can stitch by hand).
Congrats, you're done! Enjoy your bag!
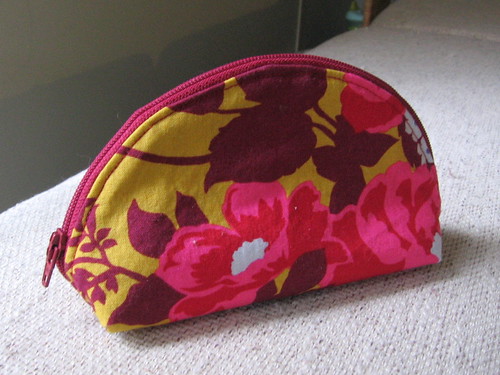
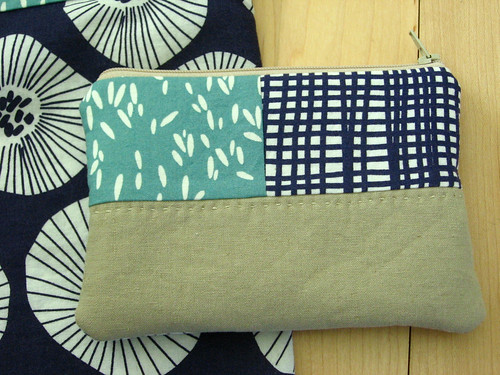
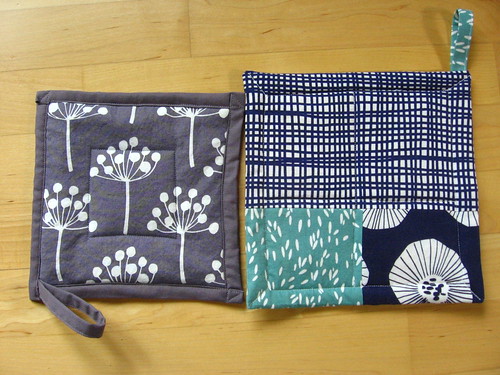
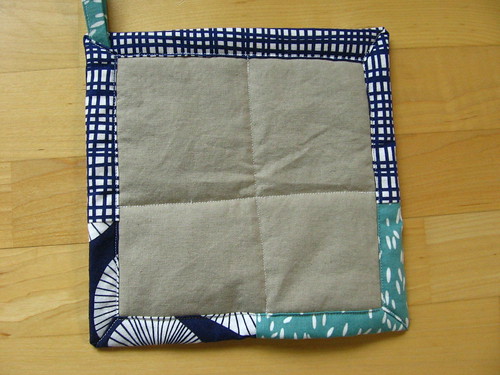
Here is a sneak preview of another project that I will post a tutorial for in the next few days - a card purse with a fabric covered button. I just have to make it again and take photos this time! But it is a quick project.
Subscribe to:
Posts (Atom)