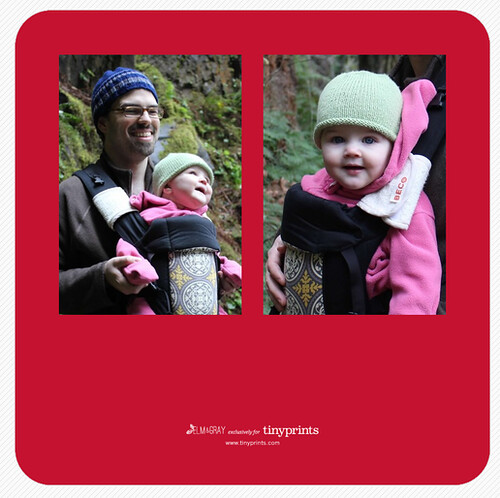
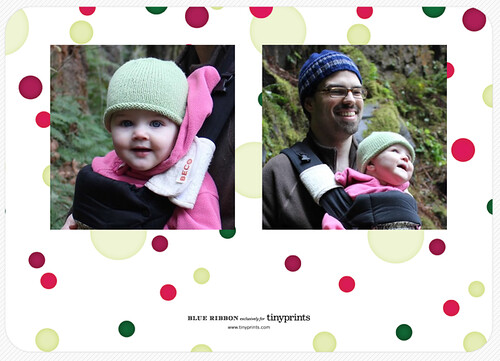
This is the first year that Lawson and I are getting photo cards for our holiday cards - with our cutie-pie to show off, how could we resist? We took photos this past weekend on a beautiful hike (just before the temperatures dropped this week, good timing), so we thought we'd use those photos for our card. I think the family photo turned out pretty well since we were relying on the kindness (and photography skills) of strangers, but it isn't the best photo of Esther ever, although it does reflect her inquisitive side (she really could not stop staring at the waterfalls). Luckily we'll be able to include some additional cute photos of her on the back of the card. Also, I kind of love that everyone in our family is wearing something I knitted in the photo.
I have always admired the cards at TinyPrints, both ogling their options online and seeing the nice baby announcements and holiday cards that we've gotten from friends. I'm super excited to be partnering with them for our cards this year and I had fun playing around on the site mocking up some cards. There are tons of cute options, but I narrowed our choices down to this selection. What do you think?
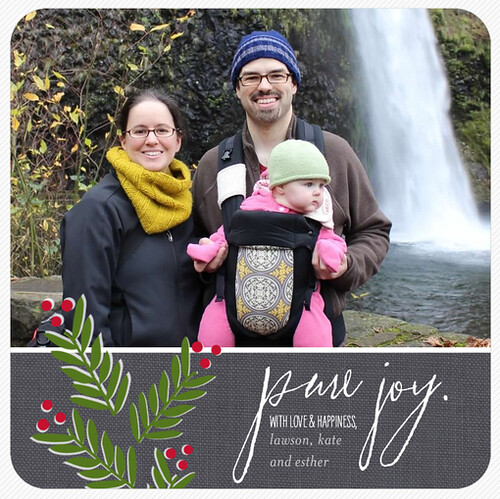
This joyful holly card is my favorite, I think - love the square shape and the cute motifs. Plus, pure joy pretty much captures our sentiment this year I think. They have an option for a cute patterned back, but since we'll be putting photos on the back I think it looks less cluttered with the solid red background.
I also love this cozy feeling card - another square option. The back would look pretty much the same as the last one except with a solid blue (or there's a red or green option for the card and back, too).

I think this card (delightfully dotted) may be more traditional than we are going for but the dots are fun! Plus you can see more of the waterfall in the photo. Speaking of which, I really appreciated how easy it was to zoom/crop your photos on the TinyPrints site - it makes it really easy to customize each card, particularly when you are trying different photo orientations and also want to customize what looks best with each card.
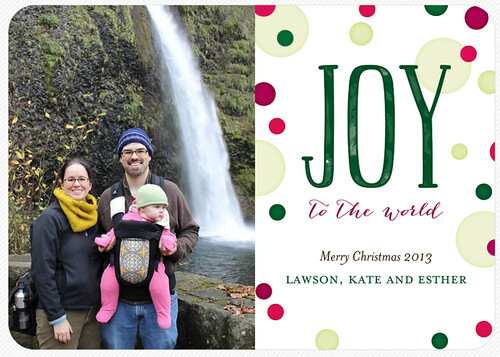
I actually think the patterned background on this one looks good with the photos!
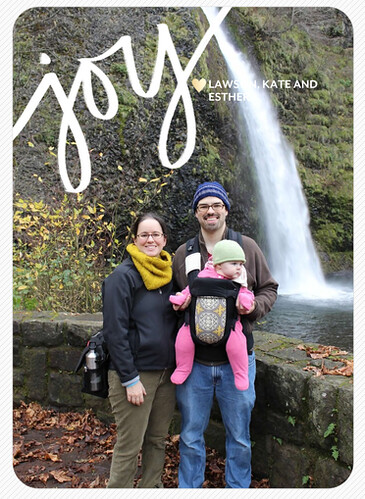
Speaking of playing around with photo placement to see what looks best with the card... I was bummed out that our photo just really didn't work well with this joyous heart card. This card was one of my favorites but the waterfall is definitely not compatible with the name placement. I'd be more disappointed if I didn't like the other options so much, though.
So what do you think? Which card is your favorite, and what are you doing for your cards this year?
You may have seen that TinyPrints has been having some great black friday week deals - if you aren't going to get your cards picked out this week, though, you can still get 20% off and free shipping using the promo code TPH85Z - the code expires 1/31/14, so there's still plenty of time to get your cards for the holidays. Just paste the code in the "promo code" box at checkout and you're good to go!
Disclosure: I am excited to be partnering with TinyPrints on this post and they will be providing me with some of our cards. All opinions expressed are my own.
Wednesday, December 04, 2013
Tuesday, November 26, 2013
Appliqued Onesies
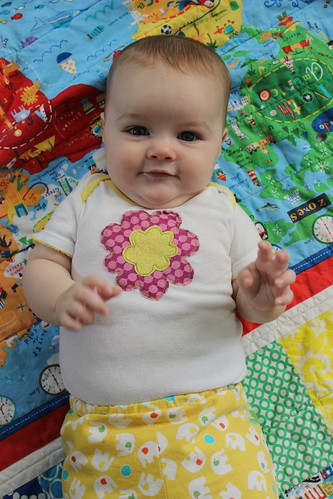
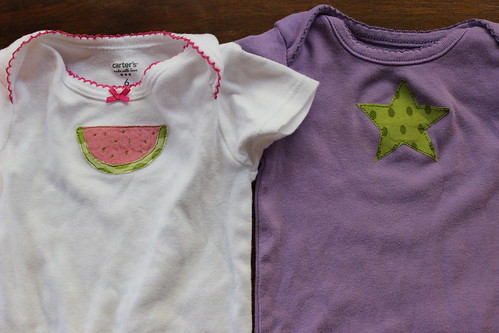
I'm going to keep right on sharing some of the clothes that I have made for Esther, keeping going with the momentum from my Kids Clothes Week posts. Although technically I didn't make these onesies for her, I embellished them. You know how if you get a pack of four or five onesies, three or four are cute and one or two say "I'm a princess" or "just perfect"? No offense intended if you are into those types of sayings, but they are not really my thing. Plus I love getting to give her things a more handmade touch, so I have been having a great time appliqueing designs on onesies (similar to the appliqued t-shirts I made several years ago). This time I tried using steam-a-seam lite instead of regular and found that was great for keeping the shirts from getting stiff and it was easier to stitch through.
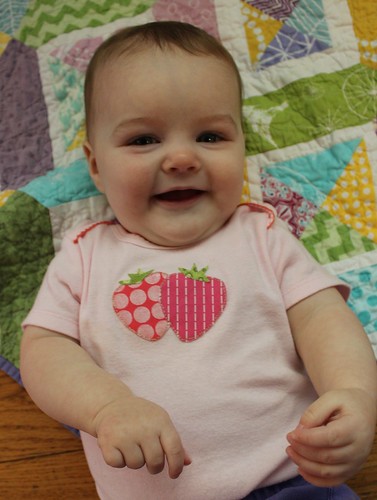
It's a fun challenge picking the right applique for each onesie to cover up the saying or icon that was originally there. The first batch of these that I made (with the flower, watermelon, and umbrella) I did the applique on my machine, using the free motion foot. With the big designs, especially the umbrella, it was trickier than I expected to keep the rest of the shirt out of the way and keep the design flat as I worked on it, so the stitching is a little wonky but I don't really mind. I was curious to see how they would turn out with hand stitching so for the second batch (with the star and the strawberries) I hand-sewed the appliques with a simple running stitch and a single strand of embroidery floss. That obviously took more time but was easier to control and turned out more neatly. I enjoyed both techniques and think that which one is better to do really just depends what you feel like at the time. I didn't do it on either of these but I think it would be fun to add some more embroidered details when doing the handstitching, so maybe I'll try that on my next ones!
I think I had just made the strawberry one in this picture, whereas you can see that the umbrella one has gotten lots of good use - I like the fuzzy frayed edges!
I don't think that I had seen the thimble blossoms umbrella quilt when I designed this onesie, or at least I wasn't thinking of it consciously but it is a pretty similar idea! I figured an umbrella quilt would be good for a Portland baby.
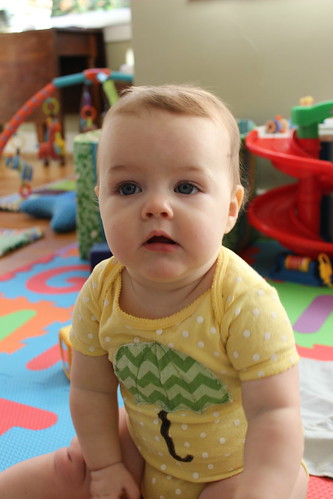
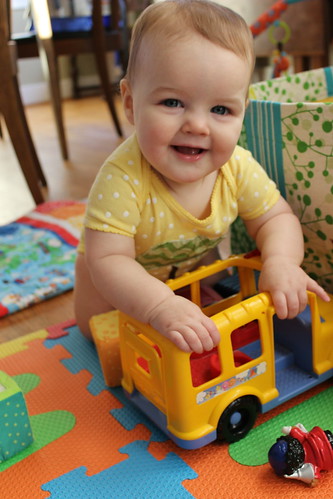
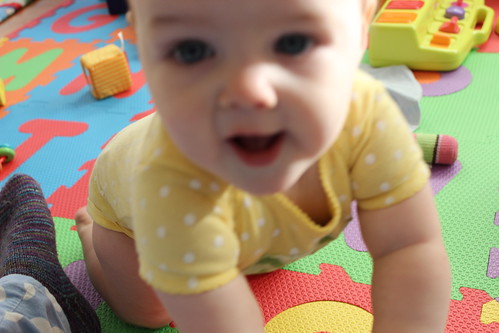
Really, this picture is just here because it's cute. I'm having such a fun time with this cutie. Although photo shoots are continuing to get more and more difficult - I am still ending up with a lot of shots like this (she is increasingly mobile and wants to eat the camera):
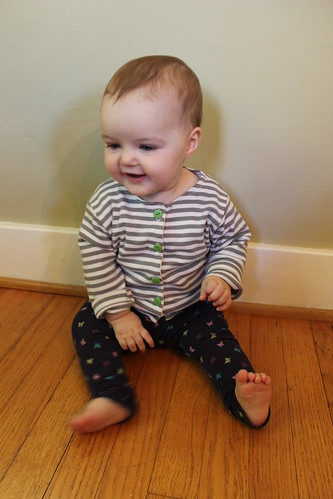
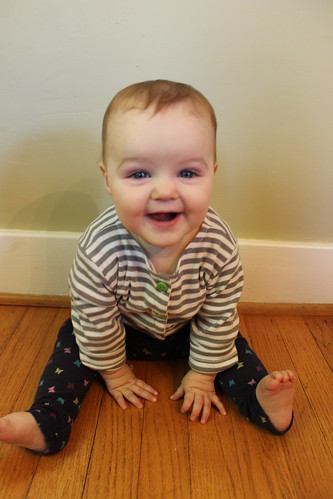
Also, I never shared the photos of her wearing the grey striped cardigan from KCW, so here are a few:
She has been getting a ton of use out of this shirt (and really, all the shirts I made her, but this is especially a favorite). I'm so glad I picked the green buttons, I love how they look!
Tuesday, November 19, 2013
Quick Change Baby Pants
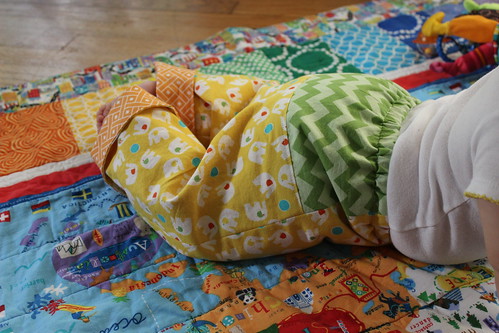
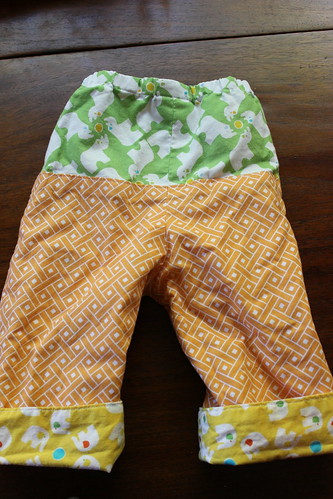
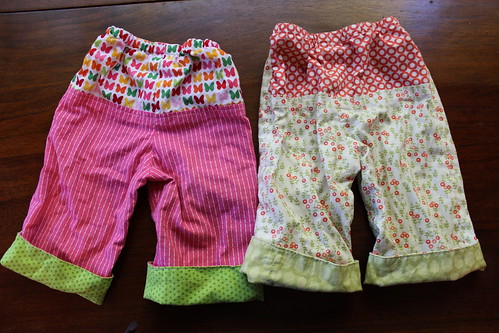
To follow up on my kids clothing week sewing posts (here and here), I wanted to share a few more of the clothes that I have sewed for Esther. I love the Quick Change baby pants pattern from Anna Maria Horner's Handmade Beginnings book, it is such a cute way to showcase favorite quilting cotton prints. While the instructions say that it require 3/4 yard of each of the main prints for most of the sizes, I found that I could eke it out with 1/2 yard, particularly for prints where the orientation of the fabric didn't matter. I love that the pants are reversible, so it's like getting two pairs of pants in one! Plus with the cuff that you can fold down as they grow, they should fit a bit longer than most baby clothes.
This first pair that I sewed for Esther was pretty snug, which could have been because I made them at the height of her deliciously chubby stage, so for the next two pairs that I sewed, I cut out the same size (9 months) but made a smaller seam allowance for the two outer seams (eg the ones at her hips, not the inseam).
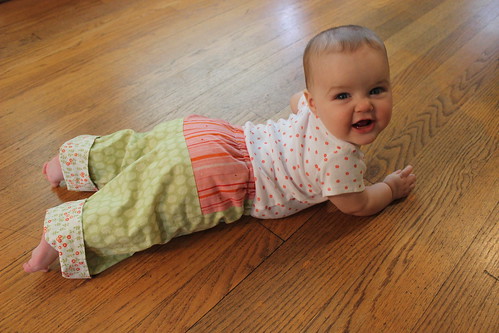
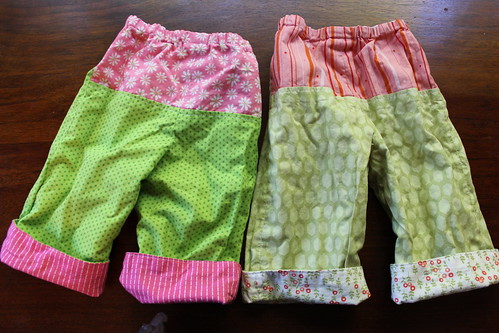
That worked great and the next two pairs fit her much better - although they are still a bit of a wiggle to get on and off. These pants in muted sage green and coral are my absolute fave!
I also made a super fun bright pair of pants for her also in green and pink. I was tempted to sew tons more but I should probably make them in a larger size! She is growing so fast, it's already about time to fold down those cuffs...
Wednesday, November 06, 2013
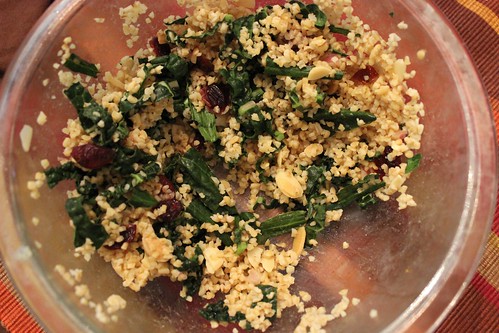
Bulgur Kale Salad with Cranberries and Almonds
It's been a while since I've shared something from the "spatula" side of this blog's title, and while I have some more kids clothes posts in the works I thought I would just quickly post this in the midst, since it was really yummy and is just perfect for fall. And I want to keep track of the recipe for myself for the future!
This salad was inspired by one from Whole Foods, but I added the almonds and I didn't actually look at their ingredient list so it may differ in other ways. The orange juice and sherry vinegar balance each other well, giving it a bit of sweetness but also enough acidity. I just threw it together, so this is actually less a recipe with formal amounts than a general idea, but it should be enough of an idea to recreate it I think.
Ingredients:
- Dried bulgur wheat (or grain of your choice)
- Dried cranberries
- Kale (smaller/more delicate leaves are preferable if possible)
- Slivered almonds
- Shallots (or red onion)
- Olive oil
- Orange juice
- Sherry vinegar (or red wine vinegar)
- Salt to taste
Subscribe to:
Posts (Atom)