Tuesday, November 26, 2013

Appliqued Onesies

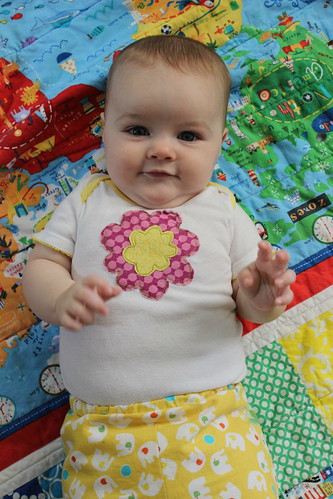
flower onesie

I'm going to keep right on sharing some of the clothes that I have made for Esther, keeping going with the momentum from my Kids Clothes Week posts.  Although technically I didn't make these onesies for her, I embellished them.  You know how if you get a pack of four or five onesies, three or four are cute and one or two say "I'm a princess" or "just perfect"?  No offense intended if you are into those types of sayings, but they are not really my thing.  Plus I love getting to give her things a more handmade touch, so I have been having a great time appliqueing designs on onesies (similar to the appliqued t-shirts I made several years ago).   This time I tried using steam-a-seam lite instead of regular and found that was great for keeping the shirts from getting stiff and it was easier to stitch through.
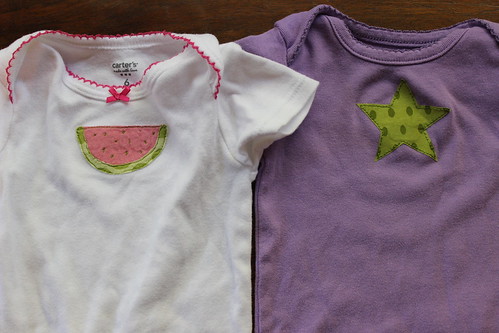
watermelon and star onesies

It's a fun challenge picking the right applique for each onesie to cover up the saying or icon that was originally there.  The first batch of these that I made (with the flower, watermelon, and umbrella) I did the applique on my machine, using the free motion foot.  With the big designs, especially the umbrella, it was trickier than I expected to keep the rest of the shirt out of the way and keep the design flat as I worked on it, so the stitching is a little wonky but I don't really mind.  I was curious to see how they would turn out with hand stitching so for the second batch (with the star and the strawberries) I hand-sewed the appliques with a simple running stitch and a single strand of embroidery floss.  That obviously took more time but was easier to control and turned out more neatly.  I enjoyed both techniques and think that which one is better to do really just depends what you feel like at the time.  I didn't do it on either of these but I think it would be fun to add some more embroidered details when doing the handstitching, so maybe I'll try that on my next ones!
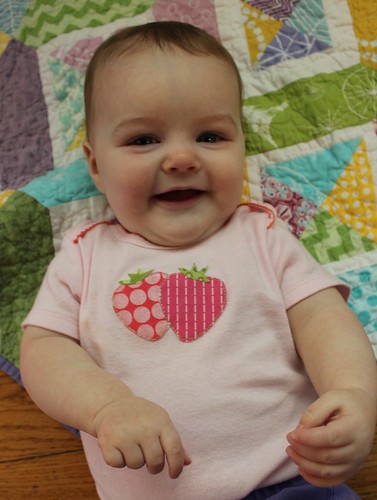
strawberry onesie

I think I had just made the strawberry one in this picture, whereas you can see that the umbrella one has gotten lots of good use - I like the fuzzy frayed edges!
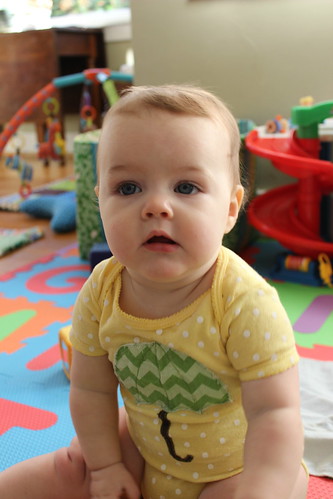
umbrella onesie 1

I don't think that I had seen the thimble blossoms umbrella quilt when I designed this onesie, or at least I wasn't thinking of it consciously but it is a pretty similar idea!  I figured an umbrella quilt would be good for a Portland baby.
umbrella onesie 2

Really, this picture is just here because it's cute.  I'm having such a fun time with this cutie.  Although photo shoots are continuing to get more and more difficult - I am still ending up with a lot of shots like this (she is increasingly mobile and wants to eat the camera):
going for the camera

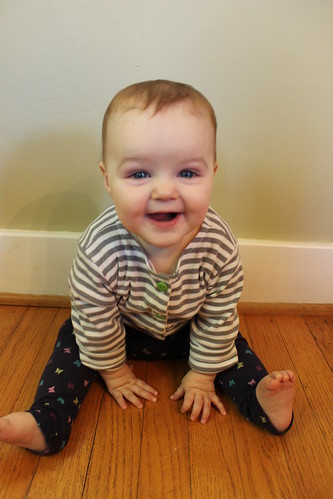
Also, I never shared the photos of her wearing the grey striped cardigan from KCW, so here are a few:
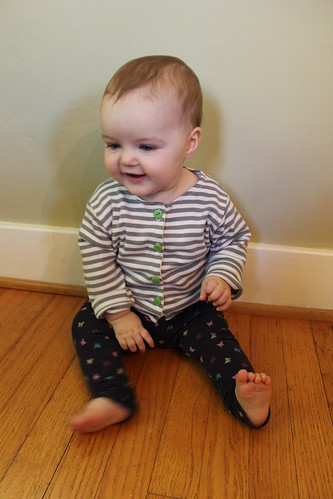
grey striped shirt on E

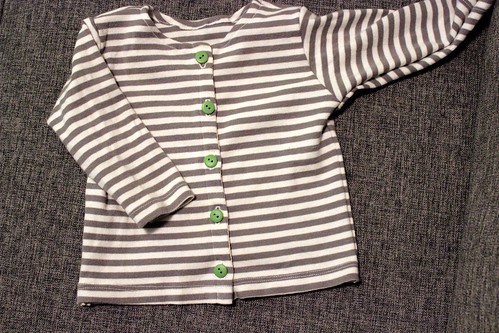
She has been getting a ton of use out of this shirt (and really, all the shirts I made her, but this is especially a favorite).  I'm so glad I picked the green buttons, I love how they look!
Grey striped shirt on E 2

Tuesday, November 19, 2013

Quick Change Baby Pants

Quick Change Pants 5

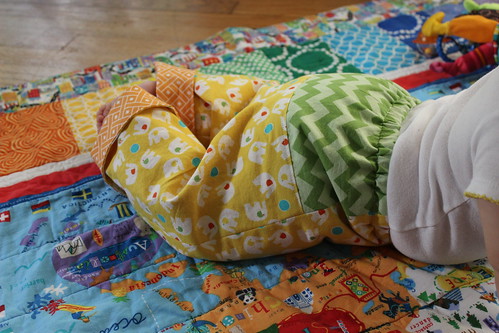
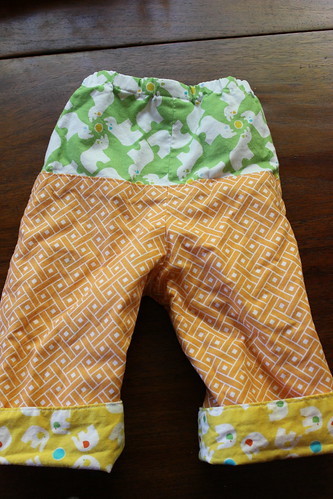
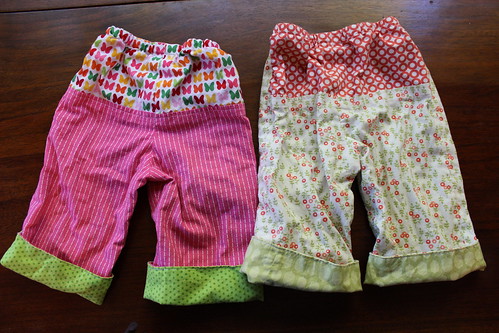
To follow up on my kids clothing week sewing posts (here and here), I wanted to share a few more of the clothes that I have sewed for Esther.  I love the Quick Change baby pants pattern from Anna Maria Horner's Handmade Beginnings book, it is such a cute way to showcase favorite quilting cotton prints.  While the instructions say that it require 3/4 yard of each of the main prints for most of the sizes, I found that I could eke it out with 1/2 yard, particularly for prints where the orientation of the fabric didn't matter.  I love that the pants are reversible, so it's like getting two pairs of pants in one!  Plus with the cuff that you can fold down as they grow, they should fit a bit longer than most baby clothes.

Quick Change Pants 3

This first pair that I sewed for Esther was pretty snug, which could have been because I made them at the height of her deliciously chubby stage, so for the next two pairs that I sewed, I cut out the same size (9 months) but made a smaller seam allowance for the two outer seams (eg the ones at her hips, not the inseam).

Quick Change Pants 4

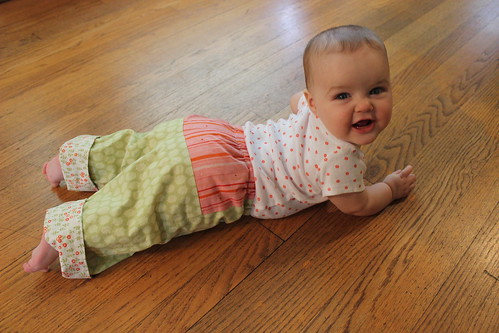
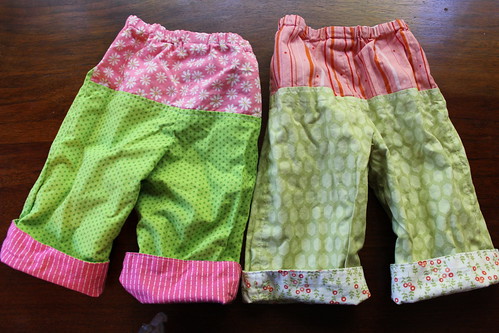
That worked great and the next two pairs fit her much better - although they are still a bit of a wiggle to get on and off.  These pants in muted sage green and coral are my absolute fave!

Quick Change Pants 1

I also made a super fun bright pair of pants for her also in green and pink.  I was tempted to sew tons more but I should probably make them in a larger size!  She is growing so fast, it's already about time to fold down those cuffs...

Quick Change Pants 2

Wednesday, November 06, 2013

Bulgur Kale Salad with Cranberries and Almonds

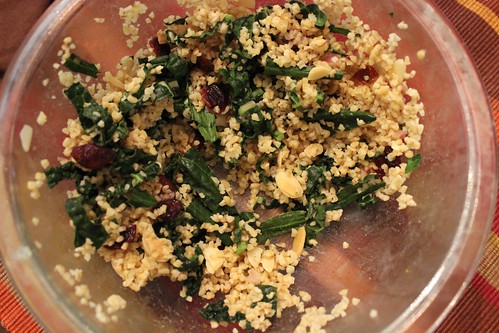
Bulgur Kale Salad with Cranberries and Almonds

It's been a while since I've shared something from the "spatula" side of this blog's title, and while I have some more kids clothes posts in the works I thought I would just quickly post this in the midst, since it was really yummy and is just perfect for fall.  And I want to keep track of the recipe for myself for the future!

This salad was inspired by one from Whole Foods, but I added the almonds and I didn't actually look at their ingredient list so it may differ in other ways.  The orange juice and sherry vinegar balance each other well, giving it a bit of sweetness but also enough acidity.  I just threw it together, so this is actually less a recipe with formal amounts than a general idea, but it should be enough of an idea to recreate it I think.

Ingredients:
  • Dried bulgur wheat (or grain of your choice)
  • Dried cranberries
  • Kale (smaller/more delicate leaves are preferable if possible)
  • Slivered almonds
  • Shallots (or red onion)
  • Olive oil
  • Orange juice
  • Sherry vinegar (or red wine vinegar)
  • Salt to taste
My favorite way to prepare bulgur wheat is to put it in a heat-safe bowl and pour boiling water over it to just a bit more than cover it, then let it sit covered until the water is absorbed - so that's what I did here, adding the cranberries in before the water so that they would get a bit rehydrated too.  Finely chop the kale (removing large pieces of stem), and lightly toast the almonds.  Finely dice the shallots (I used just a little bit of shallots - less than half of a small head).  Add all the ingredients to the bowl of bulgur and cranberries and toss!  If you are unsure how much OJ/vinegar/olive oil to use, I used about equal parts OJ and vinegar I'd say (maybe somewhat more OJ), and you can start with less than you think you'll need and adjust until it seems like enough.

Wednesday, October 23, 2013

More Baby Shirts for Kids Clothes Week!

Pink Gathered Yoke Shirt 3

After all the sewing that I got done on Monday (as I described in yesterday's post), I didn't get as much time to sew yesterday, and I only managed to cut out the pieces for another long sleeve top for the baby.  Today I got a bit more time to sew so I was able to sew together that top, and cut and sew another button-front top for her as well.  It's so fun really making time to sew and getting so many cute things made for her!

Pink Gathered Yoke Shirt 2

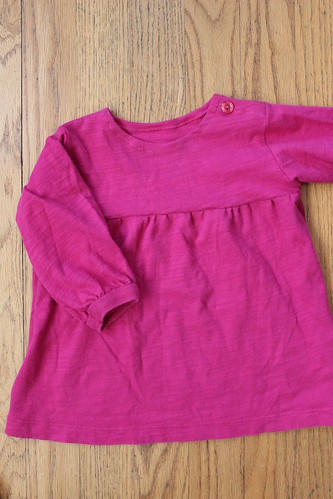
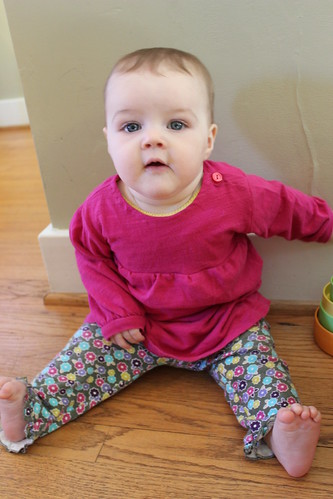
I love how this pink top turned out; it was inspired by a similar styled shirt that she has which she has almost outgrown - as you can see, this one has a bit of room to grow.  I adapted the self-drafted pattern I used for the first set of shirts again, removing the button placket/front opening, adding a shoulder button, and here cutting a yoke just below the armholes and then adding a gathered bottom to the yoke.  The sleeves of the shirt this was made from were gathered, so I just cut out sleeves and reused that hem with the gathers, giving this shirt cute gathered cuffs with no extra work for me!

Pink Gathered Yoke Shirt 1

The pants that she is wearing above are not ones I sewed but I like the a lot!  I have been feeling a bit torn about whether to embellish these shirts a bit more -- I have lots of ideas of ways that I could do that, but at least for these ones, I am really enjoying just having some good solid color basic shirts for her.  She has a lot of shirts with designs on them, and then a lot of (non-matching) pants with designs on them too, so it's nice to have some basics that are really versatile and will go with a lot of her more interesting pants.

Grey Stripe Cardigan Shirt

I finished it after she had gone to bed so I'll have to take a photo of her wearing it later, but here is the second shirt that I made today - a fun grey and white striped cardigan style shirt. I almost put pink buttons on it but I couldn't resist the green. This shirt is very similar to the coral red shirt that I shared yesterday, but without the added length. Also, for this shirt, I decided to use twill tape to stabilize the button placket rather than just folding over the knit - this fabric (again, from an upcycled plus size shirt) seemed particularly stretchy and like it would benefit from that added structure, and I'm really happy with how that turned out. Although for some reason, not sure if it was related to the reinforced placket or not, I had a heck of a time getting the buttonholes to sew correctly and had to rip out and restart a couple of them when they got messed up. Luckily that worked and I was able to get them all made and looking decent in the end. And I am kind of amazed that ALL the stripes match up! Not only in the front but on both side seams and the sleeve seams too - I wasn't going to stress about it but it worked out amazingly well without too much effort.

I'll be honest, I feel a little embarrassed about how excited I am about these new shirts and that I have fun planning my baby's outfits. But it's just so fun to have a kiddo of my own to sew for and I'm thrilled with how these tops are turning out - not only do I think they're really cute but I also know they will a ton of use. After sewing for other people's kids for a long time but not really knowing what size or type of clothing they needed most or what would really get used, it's so great to feel like I know just what I want and can make it for myself. And I love getting to experiment with how many different ways I can adapt a pattern - as I mentioned yesterday, I probably have more ideas for these little shirts than would actually be practical to make (um, in fact, I sketched out a bunch just to get the ideas down and had 8 or 10 more variations that I'd love to try). But I should maybe cut myself off soon and save the rest of those ideas for later, to sew in a larger size! Not to mention that my sewing time the rest of this week will be scarce, so this may be it in any case for now. I may not technically end up meeting the challenge of KCW to sew for an hour a day all week but I am more than satisfied with how much I got sewn already this week, so I'm calling it a success!
Related Posts Plugin for WordPress, Blogger...