

As promised, here is a sewing tutorial to make a cute card wallet with a button and elastic closure. These are great for when you want to just carry a few cards and maybe some cash with you instead of a big wallet, or you could use them to hold business cards. Also, in the spirit of the holidays, you could use these as gift card holders that then have a useful life afterwards! They are very quick and easy to make - I hope you enjoy the tutorial! If you make a card wallet with this tutorial I would love to see how it turned out - you can share a photo in the Needle and Spatula Flickr group.

TERMS OF USE: For personal, non-commercial use only. If you are interested in making these wallets for small-scale commercial sales (eg craft fairs, etsy), please contact me and we can discuss a licensing agreement.
DONATE TO SUPPORT THIS TUTORIAL - this tutorial is provided free of charge, if you would like to show your appreciation and support the free patterns I provide here, you can donate here (or it helps if you click through to any of the amazon links on this site, whether you purchase that particular product or not!). Thanks for your support!
What you will need:
- A 5 1/2"x3 1/4" piece of outer fabric and same size piece of mid-weight fusible interfacing
- A 5 1/2"x9 1/2" piece of outer fabric and same size piece of mid-weight fusible interfacing
- A 5 1/2"x12 1/4" piece of lining fabric
- A 3 1/2" long piece of elastic - I used a hair elastic in a color that matched
- A coordinating button - I made a fabric covered button using a kit I have
- Thread in a color that looks nice with your fabrics
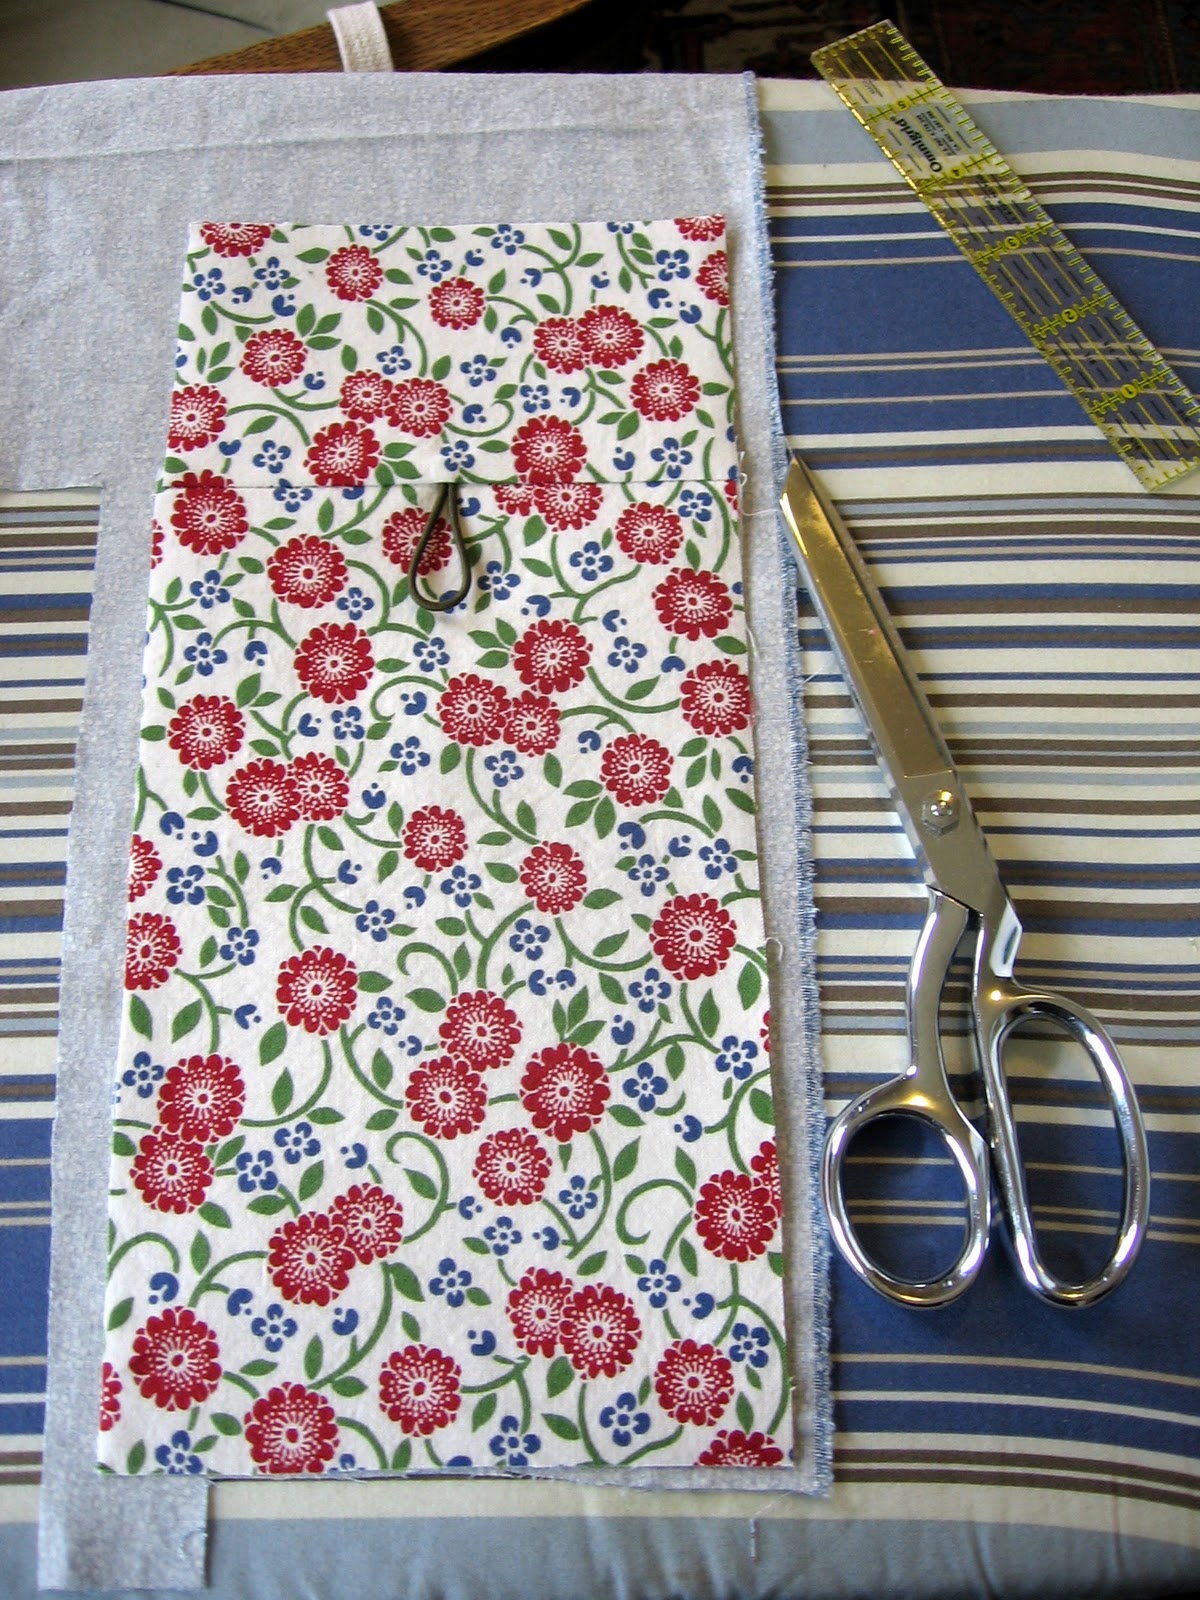
I actually cut out the interfacing first then fused it to the two front pieces, then cut them out to be the same size, but you could also cut both out first then fuse.


Place the smaller piece of fabric on top (right sides facing) and pin to either side of the top of the elastic to hold in place. Now the loop of your elastic is sandwiched in between these two layers. Sew the pinned seam, then after you sew you can trim some of the fabric near the corners above the seam (sorry I didn't get a pic of this trimming, but it helps make the final corners of the wallet less bulky and easier to sew, so hopefully you get the idea).

Fold open and iron flat. I actually just cut out the second piece of fabric using this front piece as a template, but you could also cut it out at the beginning.
Either way, pin the lining and the outside piece together with right sides facing. Leave an opening at one end that you will not sew.
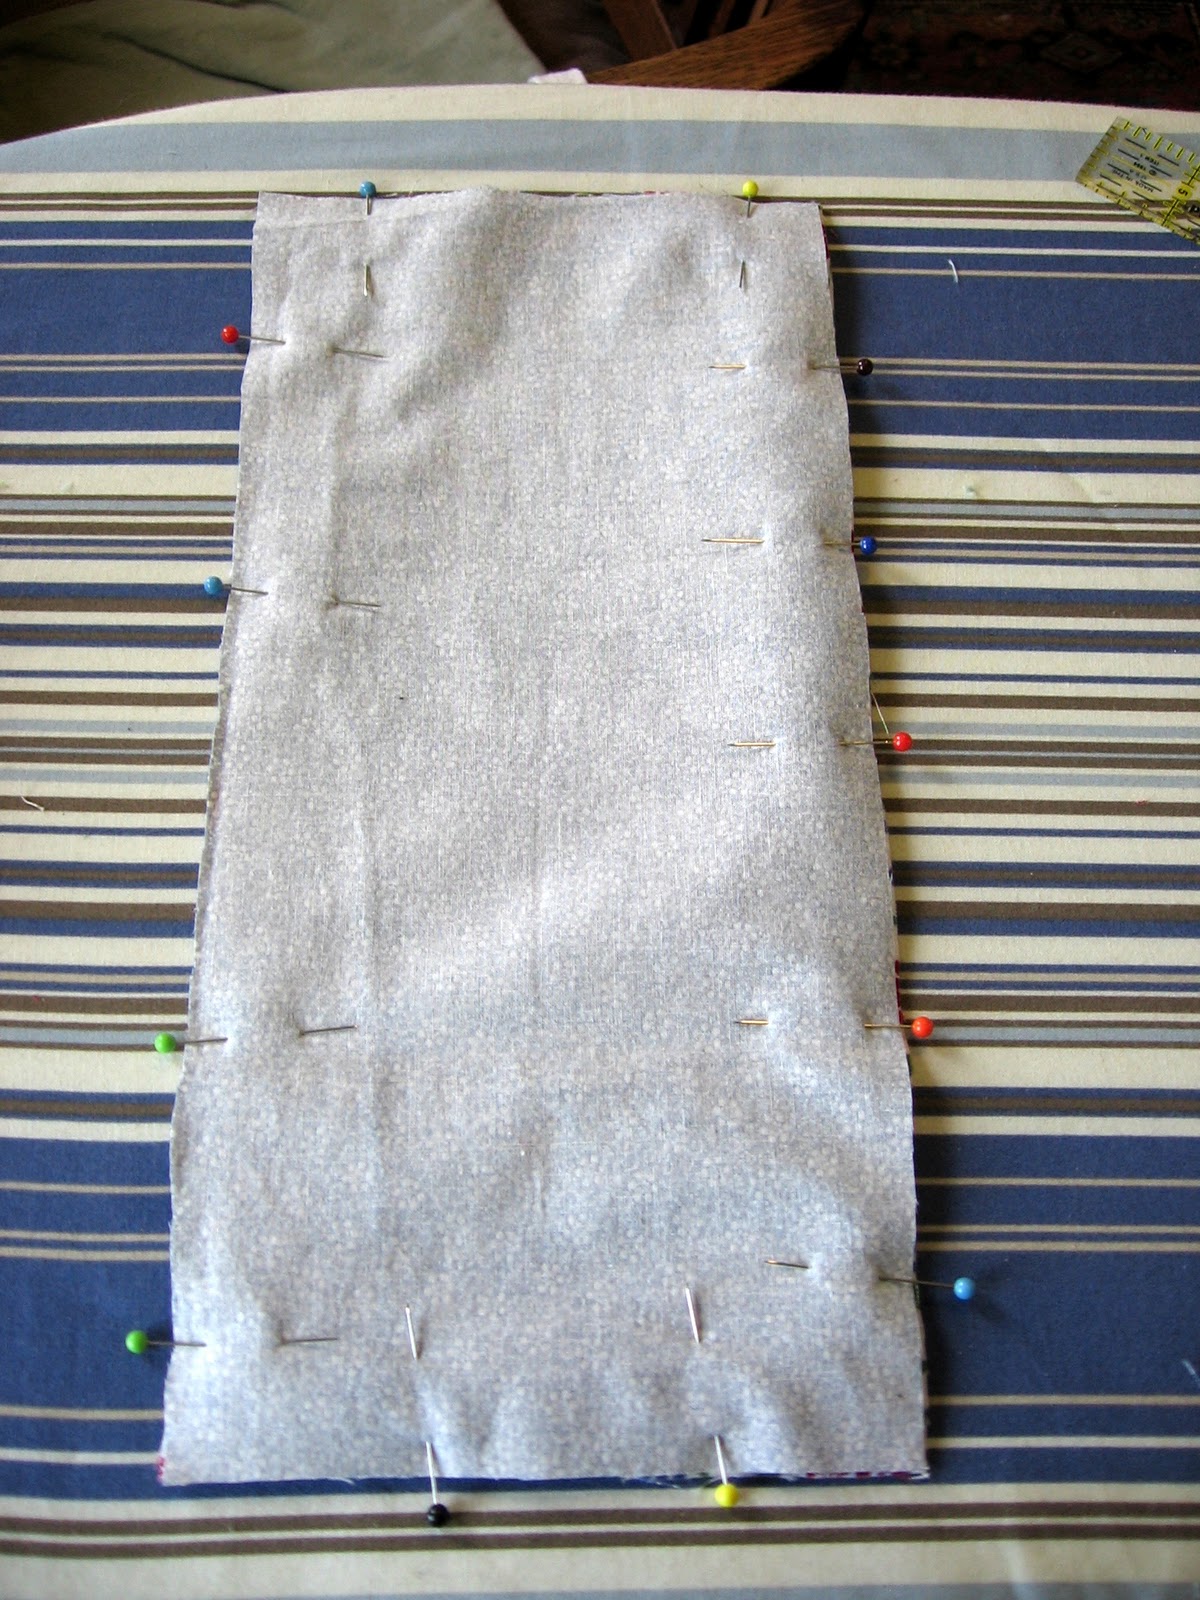
Sew around the edges, leaving the unsewn opening as pinned (about 3" or more wide) Be sure to backtack (sew a few stitches in reverse to secure) at the beginning and end. Trim the corners, making sure not to cut into the stitches.

Turn rightside out using the opening that you left, and push out the corners then iron flat. Be sure to fold under and line up the edges where you left the opening. Then topstitch across the two short ends (including the one with the opening), 1/8" from the edge.

Fold the side with the elastic at the point where there is a seam on the outside and iron down in place. Then, fold the other side by about the same amount, leaving about 1/4"-1/2" gap in between the two sides. Pin both sides in place and then sew along the edges to secure 1/8" from the edge (eg, along the top and bottom edge as shown below). Using the length of the elastic as a guide, hand sew a button to the outside of the wallet (as shown in the pictures of the finished wallet). You are done, enjoy!

I hope you found this tutorial helpful! I have done a couple of these now, let me know if you have any feedback - I hope I am providing the right level of detail/enough photos and explanation for folks to follow.
Very cute! And you're right, it does seem pretty easy.
ReplyDeletebeautifulllllllllllllllllllllllllll. thanks
ReplyDeleteWould there be a way of making this from a placemat? I have some that are "tired", but not ready for the trash - just wondering
ReplyDeletethanx
Hi - the tutorial as written wouldn't work with a placemat, but you might be able to come up with your own way of doing it to use already quilted material - maybe cutting a rectangle from the placemat and binding the edges with bias tape, then folding it into the card wallet shape and sewing across the sides to secure. Hope that helps!
ReplyDeleteI am a beginner (only made a pillow case previously) and I made this, it turned out SO CUTE! Not perfect (my fault) but just adorable-Love it!
ReplyDeleteI don't know how to sew. Can I buy one from you? The one on the top is SO CUTE.
ReplyDeleteSorry I don't have any for sale now. Glad you like them though!
DeleteThis is so great
ReplyDeleteThanks so so much for sharing your knowledge!
ReplyDeleteI am an absolute beginner and want to try out your tutorial: I have to take several pills over the day and such a cute pouch will help a lot :)
Love your website and will visit it more often (actually, it will probably take me days to browse through the posts you made up to now :D )
Greetings from Germany,
Gabriele