Saturday, April 21, 2012

1001 Peeps Half Square Triangle Quilt

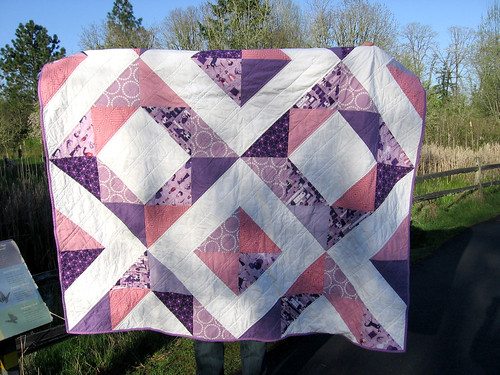
1001 peeps quilt

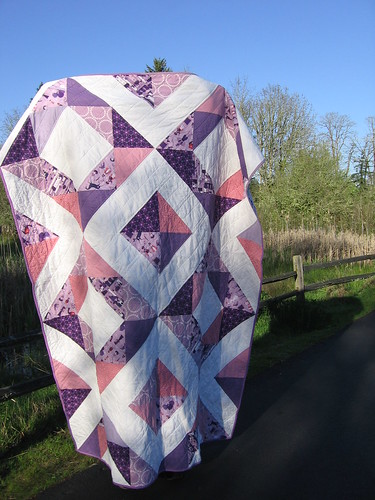
I finally finished up the twin-size half square triangle quilt that I have been working on today (which I mentioned when I posted about my HST placemats).  Crafting time (and blogging time, clearly) has continued to be more scarce lately as we finalized our house purchase.  Thanks for all the well wishes on my last post!  We closed this week and will be moving in about a month, we are very excited!

So, about the quilt - this is the first twin size quilt that I have pieced and then quilted myself and it made me even more impressed by folks that quilt bed size quilts on their home machines... it definitely took at lot of wrangling (and made me think about getting a nicer sewing machine with more room under the arm someday).  It was gorgeous out today and we went for a walk in a nearby park and took some quick photos of the quilt while we were there.
1001 peeps quilt folded

Lawson was having a hard time holding it all up since it really is pretty big, you can get a better picture of the design in this photo where the quilt is folded 2/5 of the way down.  It is a (late) 8th birthday present for my god-daughter, whose favorite color is purple.  I knew she would love these 1001 peeps fabrics (by Lizzy House) as soon as they came out, and I think I bought them all a year or so ago - I'm glad that I was finally able to make this quilt for her!

The quilt layout is 8 blocks wide by 10 blocks high, and each HST block is 8" finished (so they were 8.5" unfinished).  I wanted to go with a pretty large block size both to make the project more manageable, and to make sure that the characters in the fabric were visible.  I made most of the blocks using the technique where you sew all around the edges a square and then cut it diagonally twice into 4 HST blocks (shown here), so I started with 13.5" squares of fabric (and then I did trim the blocks still, although I'm not sure it was really necessary).
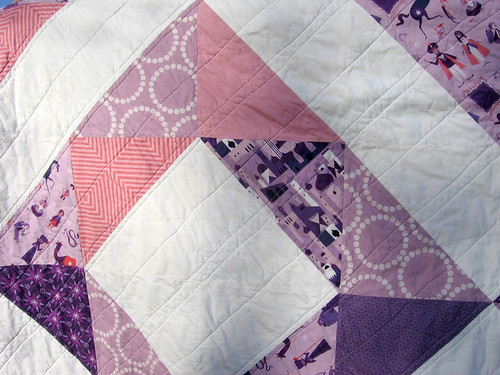
Peeps quilt detail

I quilted it with straight(ish) lines on the diagonal and used a pinkish-beige sheet for most of the backing, with a pieced strip inserted.  I started with fat quarters of the 1001 peeps fabric and used almost all of it with this design, which worked out really well since I definitely hadn't planned it out before I bought the fabric!  If you aren't familiar with this fabric line, you can see a bit more of the details of it in the photo above - it has some more abstract prints and also ones with little characters and scenes.  It's super cute!
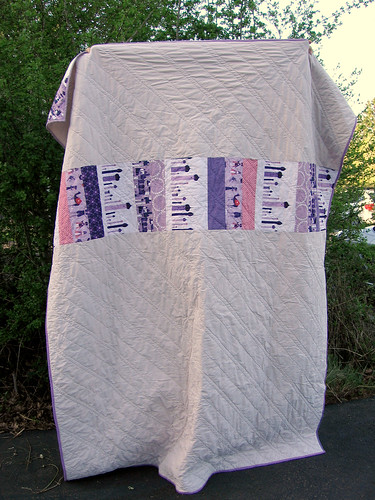
peeps quilt back

I'm linking up to Megan's Festival of Half Square Triangles over at Canoe Ridge Creations - there are lots of beautiful HST quilts entered, so definitely check it out if you haven't yet for some fun triangular inspiration!  I'm also linking up my HST placemats from my last post :)

Monday, April 02, 2012

Aqua, Grey and Yellow

HST placemats

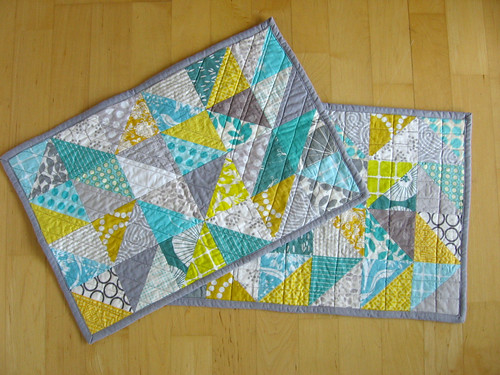
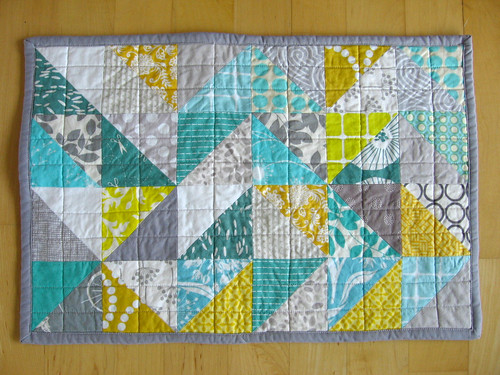
I just finished sewing my first quilt top with half square triangles (more on that later), and since I had never sewn half square triangles before, I wanted to do a quick project to practice before diving into making a whole twin sized quilt top.  I made these using the method where you draw a diagonal line down the middle of a square and then sew 1/4" on either side of it - Jeni has a tutorial here.  I originally planned to make a pillow top, but then midway through sewing up the rows I decided I was more excited about seeing these triangles on my table than on my couch, so I sewed up two more rows and made a set of placemats.

HST placemat

The finished triangles are 3" so these measure a nice 12"x18".  I did my best to place them randomly, but I realized that with a scrappy patchwork version like this, where you don't have a defined light/dark or pattern/solid, pretty much any layout ends up looking like either zig-zags or flying geese.  So I tried not to worry too much about the patterns that emerged and just went with it.

placemat binding corner

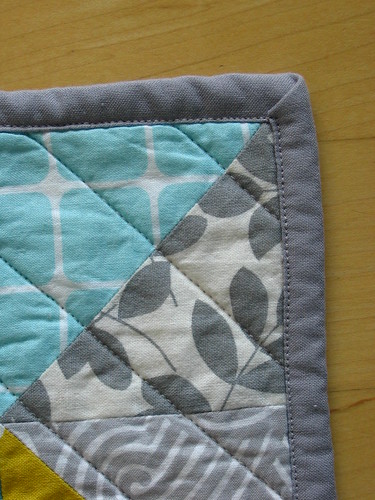
Both to save time, for more durability, and to practice my technique, I did the binding on these placemats all by machine - I have done this before but have to look it up each time, this time I followed AmandaJean's tutorial and was really happy with how it turned out!

placemat backs

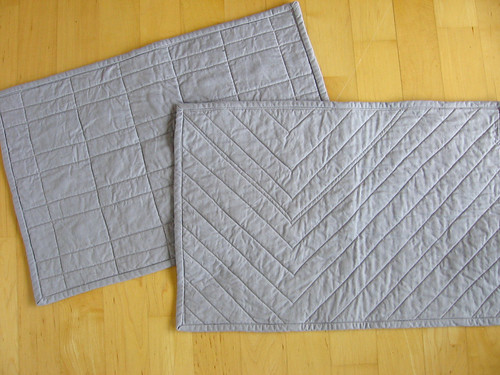
I bound and backed these in Kona Medium Grey, and had fun quilting them in two different patterns to create a little variety.  I actually really love how the backs look, it makes me want to make a set of really basic solid placemats that just have fun quilting designs on them!  Or maybe I'll just use the backs of these sometimes :)  I had a lot of fun learning a new technique this way so I am thinking that I may use this same color palette (or something that goes) in the future to make other scrappy placemats with different patchwork techniques that I have been wanting to try out.  Wouldn't that make a fun set?

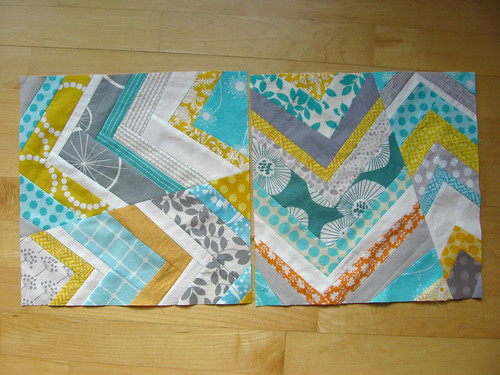
wonky chevron bee blocks

Speaking of this great color combination... when I went to pull fabrics from my stash to make the HST blocks, I just gravitated toward this color combination, and it was only midway through all the cutting and piecing that it occurred to me that it was nearly exactly the color combination that Natalie had picked out for our March do.good stitches blocks.  I guess it was lurking in my subconscious, too funny!  It worked out well, though, because it meant that I had already gotten out all the fabrics that I needed to make my bee blocks this month.  I had a lot of fun with this pattern (following this tutorial) and definitely want to do more with it in the future - maybe make a table runner?  It was definitely nice to do some loose, improv-style piecing after lots of precise HST corners!


[ETA] I'm linking up to Megan's Festival of Half Square Triangles over at Canoe Ridge Creations - there are lots of beautiful HST quilts entered, so definitely check it out if you haven't yet for some fun triangular inspiration!

Monday, March 26, 2012

greetings from your absentee blogger

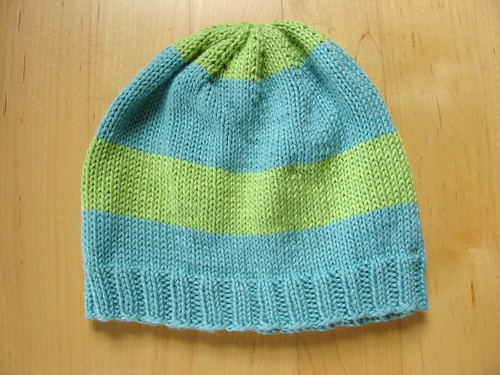
craft hope hat

I've been a bit MIA around here lately, but I have a good excuse!  We are in the process of buying our first house (closing in 3 weeks) so that has been eating up what spare time I had.  We are very excited!  I actually have still been squeezing in some time for crafts, I just haven't been good about taking photos and writing blog posts.  So this is a knitting update of things that I made several weeks ago since the more recent projects still need to have ends woven in, photos taken, etc.  This hat was a quick one that I made for the recent craft hope project to make hats and bags for kids with cancer.

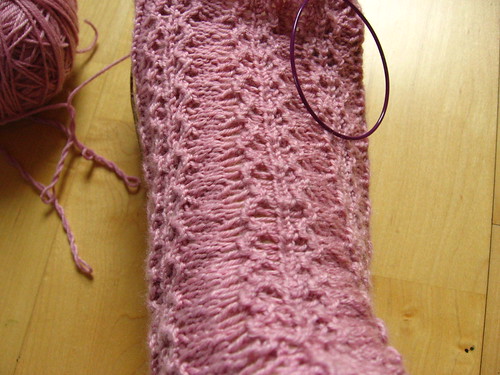
sock fail 1

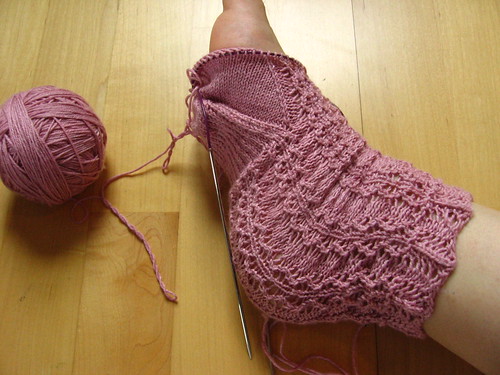
I also was knitting the rose ribs sock pattern from the book Sock Knitting Master Class, which I really should write more about at some point - it's a great book - but I didn't take the time to knit a gauge swatch or even to try on the socks until I was 2/3 through with the first one, and they are way. too. small.  Bummer.  The lace pattern was so pretty and not that hard to keep track of while knitting, so I may try to knit these again on larger needles or in the larger size at another time.  But for now I decided I that my life was complicated enough right now and my knitting should be easy.

sock fail 2

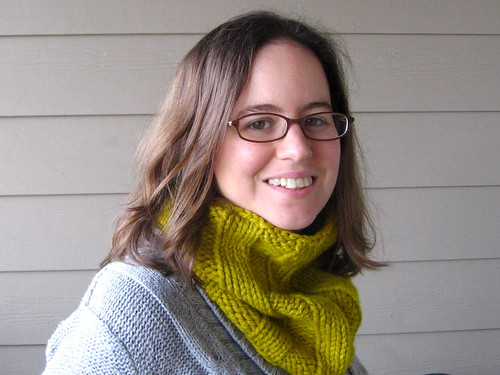
So I treated myself to some yummy soft malabrigo chunky yarn in this fun yellow/ochre/almost chartreuse color and knitted myself up a quick cowl (the luxe cowl pattern) which I found via angry chicken.  I normally don't wear a lot of bright colors so I kind of surprised myself when I bought this yarn, and have surprised myself even more to find that I love wearing it!  So I am kind of on a run of making cowls... it is starting to feel like spring here but I am tempted to make another before it warms up for real... maybe this one that a friend and I saw a sample for at a yarn shop here in Portland?

yellow cowl

Happy spring to you!

Monday, March 12, 2012

Flannel Bathrobe

Bathrobe 1

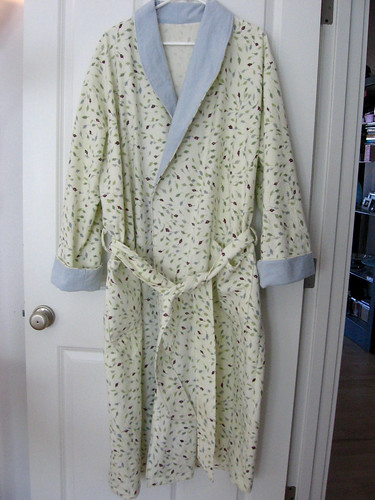
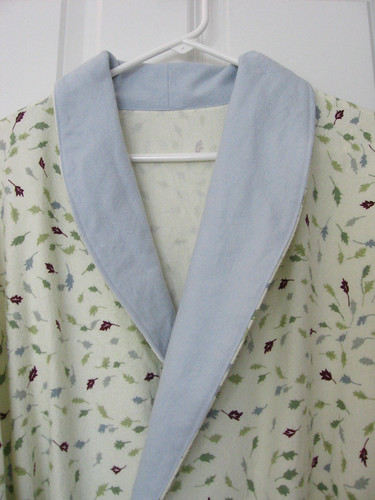
I have wanted a flannel bathrobe for a really long time, but have always been put off by the fact that they cost what seems like a lot of money, and couldn't I make myself one anyways?  Now that I actually have made one, $60 bucks or more doesn't seem that expensive, I have to say.  I couldn't stomach buying 6 yards of flannel fabric, so I bought this funny leafy patterned king size sheet at goodwill and then combined it with another flannel sheet that I had in my stash for the contrasting collar/cuffs.

Bathrobe 2

The pattern that I used was Butterick 6837... the robes on the cover looked cute and "very loose fitting" sounded comfy.  Unfortunately, I got so caught up in making the robe that I forgot that I am a short person and that I should pay attention to things like sleeve length and making the adjustments that make it worthwhile to have made yourself a custom garment.  So, long story short, it's huge on me.  The sleeves are way to long, the belt falls way below my waist, and "very loose fitting" is an understatement.  I am trying to think of it as a wearable muslin, and conveniently it fits Lawson perfectly so I gave it to him.  Lawson pointed out that this robe is not exactly manly and then had the great idea that I could dye it green or blue - so I may do that at some point in the future.

Although really, now that I have "given" it to him, it doesn't annoy me that it's oversized if it's because I am borrowing my husband's robe... so I have basically claimed it back.  I  bought another sheet to make another one if I have the time and energy, and honestly I am not sure if I do make another one if I will use this pattern and try to adjust it, or if I will just find a new pattern that is a bit more fitted.  Luckily I am not in a rush, since I now do have a nice snuggly (if extremely baggy) robe to wear!
Related Posts Plugin for WordPress, Blogger...